No Knead Peanut Butter Bread
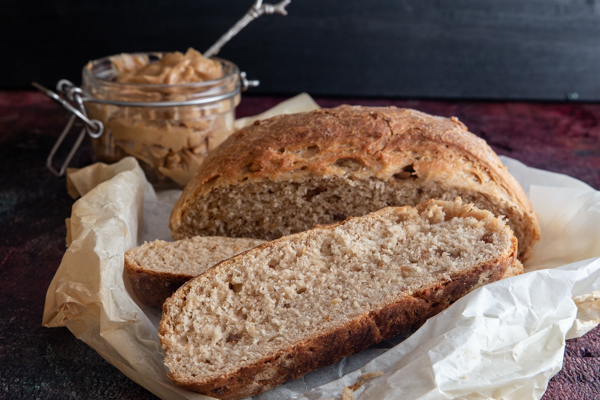
This easy No Knead Peanut Butter Bread is a tasty way to start the day. A delicious yeast bread that is practically no work at all. No machine needed! This is the perfect breakfast or even snack bread. Breakfast never tasted so good.
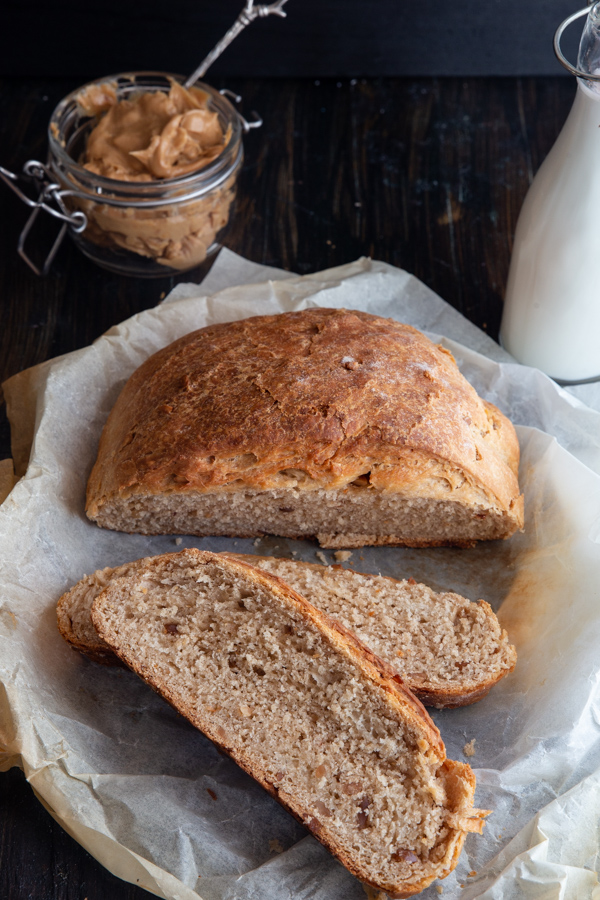
I love bread, in fact I love bread so much I decided to start a second blog dedicated to just bread, All Things Bread. Probably one of my favourites if not the favourite breakfasts of mine is toast with peanut butter, and this bread has it all! I decided to purchase Paul Hollywood’s (yup that amazing baker from The Great British Bake Off) 100 Great Breads, and this is the one I decided to start with. It’s like eating a slice of bread with peanut butter on it but instead it’s baked in it. Strange but delicious! I hope you enjoy it.
How to make it
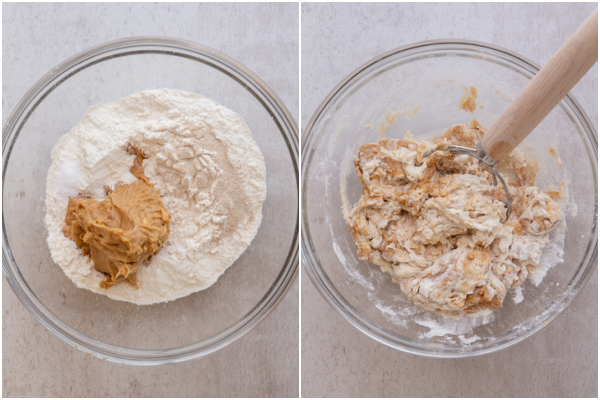
In a large bowl add the flour, yeast, salt and peanut butter. Slowly add the lukewarm water and mix with a fork or Danish Whisk, until combined.
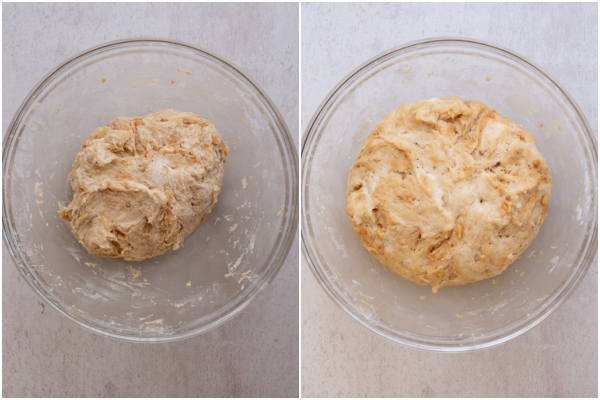
Cover the bowl with plastic wrap or a towel, let rest in a warm draft free area for 2 hours.
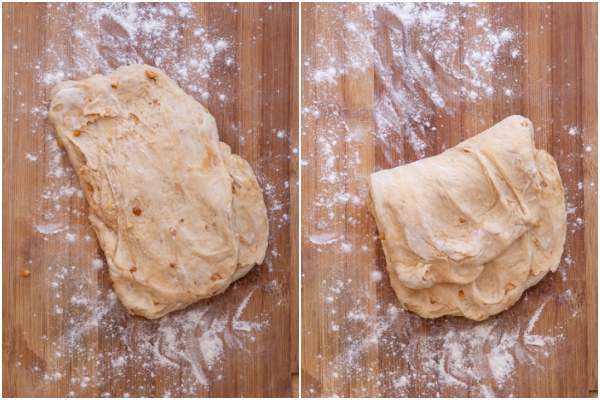
Move the dough to a lightly floured flat surface and stretch and fold the dough about 6 times.
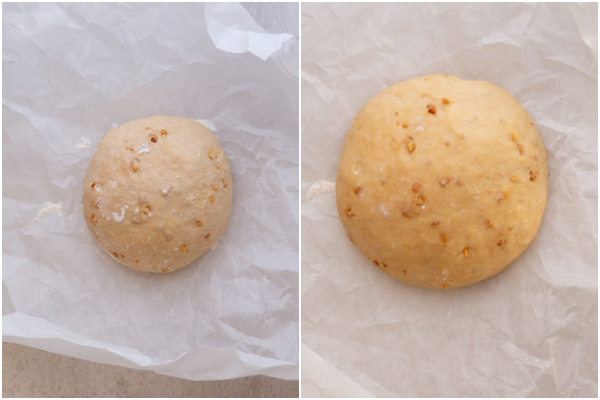
Form into a smooth dough ball or your preferred shape, place on parchment paper and let rise for 1 hour in a warm draft free area.
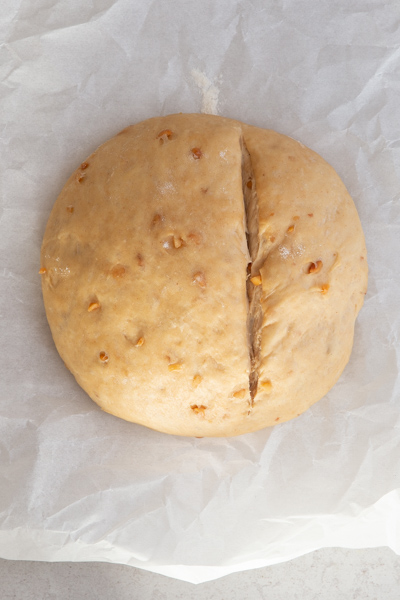
The bread can be baked either on a Pizza Stone, on an upside down baking sheet, in a loaf pan or in a Dutch Oven. All of these should be placed in the oven while it is pre-heating, except the loaf pan. Score the bread and bake.
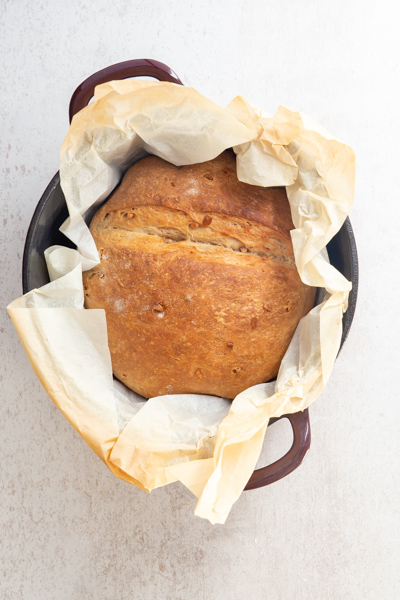
Once the bread it baked immediately move it to a wire rack to cool completely.
What is the best temperature for water
The best temperature that water should be in order to activate the yeast is 100-110F (37-43C), if the water is too hot it will kill the yeast, too cold and the yeast will not activate.
Why does bread cool on a wire rack?
A wire rack will allow air to circulate around it, therefore the bread will cool faster, plus it will keep the bread from forming a soggy bottom.
How to tell when bread is done
You can tell bread is done when you tap on the bottom of the loaf and there is a hollow sound, but if you want to be 100 percent sure, then using a thermometer is your best best, the bread is baked when the centre of the loaf registers 200 to 210 degrees.
How to tell if your Yeast is Active:
How to test yeast to make sure it is fresh, in a small bowl add 1/4 cup of warm water then add 1 teaspoon of sugar and 2-1/4 teaspoons of yeast. Wait 10 minutes. If the mixture bubbles, then the yeast is still good. If you prefer you can substitute instant yeast for active dry, you will need 25% less of instant, for example 1 teaspoon of active dry yeast is equal to 3/4 teaspoon of instant yeast. And rising time will probably be shortened.
Can the dough be refrigerated to Bake later?
Yes you can refrigerate the dough to rise, but it’s best to use it within 48 hours. Another option would be to freeze the dough but be sure to use it within 2 weeks. Just thaw it overnight in the fridge.
How to Store Baked Bread:
If the Baked bread is a crusty loaf then it should be stored unwrapped at room temperature. But once the bread has been sliced be sure to place the bread in closed paper bags. If the bread has a soft crust then it should be stored in an airtight plastic bag or container and stored at room temperature.
How to Freeze Homemade Baked Bread:
- Be sure to let the loaves cool completely before freezing.
- Wrap the loaves individually in plastic wrap (be sure to wrap tightly).
- Then wrap either in foil or place in air tight freezer bags.
- Bread will keep in the freezer for up to 3 months.
How to Thaw Frozen Bread:
Remove the bread from the bag and wrapping and let it thaw overnight in the fridge. The loaf can be warmed up in the oven at 350F (180C) for about 3-5 minutes.
More delicious Breads to Make
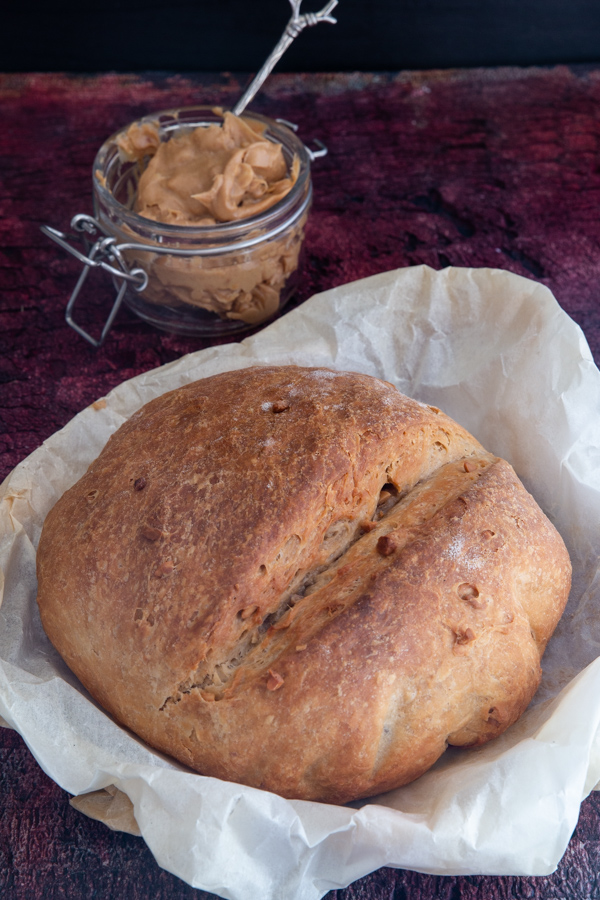
So if you are looking for an easy to make bread recipe and you love peanut butter then this No Knead Peanut Butter Bread is the bread for you! Enjoy!
No Knead Peanut Butter Bread
Ingredients
- 2 cups all purpose or bread flour (250 grams)
- 1 teaspoon active dry yeast
- ½ teaspoon salt
- ½ cup +2 tablespoons peanut butter (crunchy) (150 grams)
- ½ cup + 3 ½ tablespoons water (lukewarm) (175 grams)
Instructions
- Cover the bowl with plastic wrap or a towel, let rest in a warm draft free area for 2 hours.
- Move the dough to a lightly floured flat surface and stretch and fold the dough about 6 times (rotating the dough).
- Form into a smooth dough ball or your preferred shape, place on parchment paper and let rise for 1 hour in a warm draft free area.
- Pre-heat oven to 435F (225C). Place a pizza stone, upside down cookie sheet or dutch oven in the oven while pre-heating.
- Score the bread and place it on the sheet, stone (without the parchment paper) or in the dutch oven (with the parchment paper), Be very careful because it is very hot. Bake, for the pizza stone, cookie sheet or loaf pan bake for approximately 25-30 minutes, for the dutch oven bake for 25 minutes then remove the lid and continue to bake for approximately 10-15 minutes.. Once the bread is baked immediately move it to a wire rack to cool completely. Enjoy!
Hi. I see that this is an old post, but I’m hoping you will see it and respond. I don’t have a descent baking sheet, nor a dutch oven. So I am wondering if I can cover the bottom of baking short with aluminum foil? Or, could I use a large stainless steel pot with a lid, no plastic nor wood parts, the kind you would make chicken stock, or beef stew in? I am learning how to make bread so I don’t have the proper tools. And, prob can’t afford them any time soon. Please advise me on best solution. Thank you so much. 🤗
Hi Mitzi, I don’t know what a baking short is, but if it’s oven proof then sure it should work. A stainless steel pot would probably transmit heat too quickly which would result in uneven baking of your bread. Hope that helps. Let me know. Take care!
Sooooooo GOOD!!! Followed the directions explicitly, using thermometer to confirm water temperature and baked completion. I did use a little more water than specified when mixing. Used Skippy Natural Peanut Butter with Honey and a USA grown whole red wheat flour (13.5% protein).
This produced a very dense bread. Curiosity caused me to get a late start on my bread baking experiment; it was about 1AM when the loaf met the cooling rack. Putting the bread knife to good use this morning, I was delighted with the texture and flavor (you better really like peanut butter). Although delicious on its own, it was even more so when paired with strawberry jam, orange marmalade, and even pure maple syrup! Besides tasty, the bread is very filling. Four or five slices completed my taste testing and left no room or desire for additional breakfast items.
As made, this bread (and my taste buds) begs for sweetness. My next loaf will incorporate a little honey in the mix besides what is already in the peanut butter.
As an oven base, I used the inverted cookie sheet as per instructions. But why inverted? Is it to prevent the oven rack from transferring concentrated heat into the bottom of the bread and causing a burn pattern or uneven baking? The bread did have a nice crisp crust all around.
Hi Osker, thanks so much, so glad you enjoyed it. The inverted sheet is used as you say and to sort of mirror what a baking stone would do, also helps with give the bread a nice crust. Take care and have a great week!
I tried this recipe and there was not enough liquid. I had to add more but in the end it was just so dense. I’ve made other no knead breads before without issue so not sure what went wrong. I could tell it would be dense just by the dough but I tried to trust the process and recipe. Pretty bummed
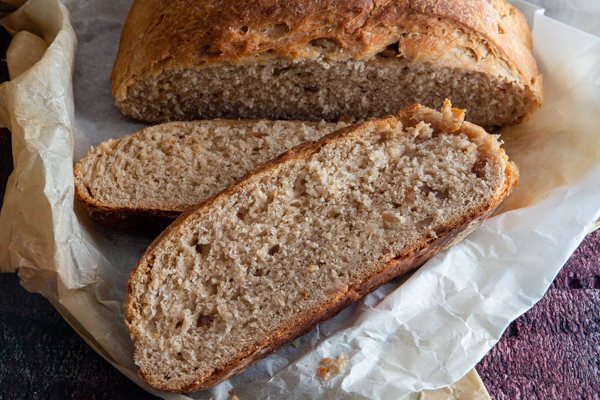
Hi Jenn, it is a denser bread, you can see that also from the photos. Sometimes more liquid is required depending on the flour used. 🙂
Tried the recipe came out dense twice even doubled the yeast. Seemed like not enough liquid. Would like to get it right
Hi Martha, if you find the dough too dense then add a bit more water. Sometimes it depends on the type of flour, some flours absorb liquid more than others. Let me know. Take care!
can i use crunchy almond butter?
Hi Pookie, yes I think that would work fine. Let me know how it goes.
I made the dough as directed. No way was it going to come together with my Danish whisk. I ended up ‘kneading” it just to attempt to get everything to incorporate including the yeast. Anyway it is in a warm place resting for 2 hours. I took a peek at one hour and there has been no change. I’m trying not to be discouraged, but I so wanted this to work. I will try it again tomorrow in my food processor. My brother is a peanut butter fanatic. I wanted to give him this bread for his birthday party tomorrow night. I will update when it comes out of the oven
Hi Kenna, if the dough doesn’t rise, then the problem is your yeast is no longer active, or the yeast was killed with too hot water or too cold. If the water was too cold then it will take longer to rise. Also a cooler room causes the dough to rise much slower. Let me know.
This was absolutely delicious. I used a jar of marmite peanut butter and it’s honestly some of the nicest bread I’ve made. I was dubious that no kneading would turn out a decent crumb but it did! I’ll definitely be doing this one again.
Hi Laura, thanks so much, so glad you enjoyed it. Have a great week.
Ooooh this looks so interesting. I have a danish whisk and it’s probably my favorite utensil ever!
Have you ever tried this with creamy peanut butter? I only ever have creamy in the house, but if it’s better with the crunchy I’ll wait to make this until shopping day. 😀 Thanks!
Hi Monica, yes me too I love the utensil. I have never made it with creamy, the crunch is really good in the bread although it would work with creamy peanut butter. Let me know how it goes.