Homemade Chocolate Ice Cream Truffles
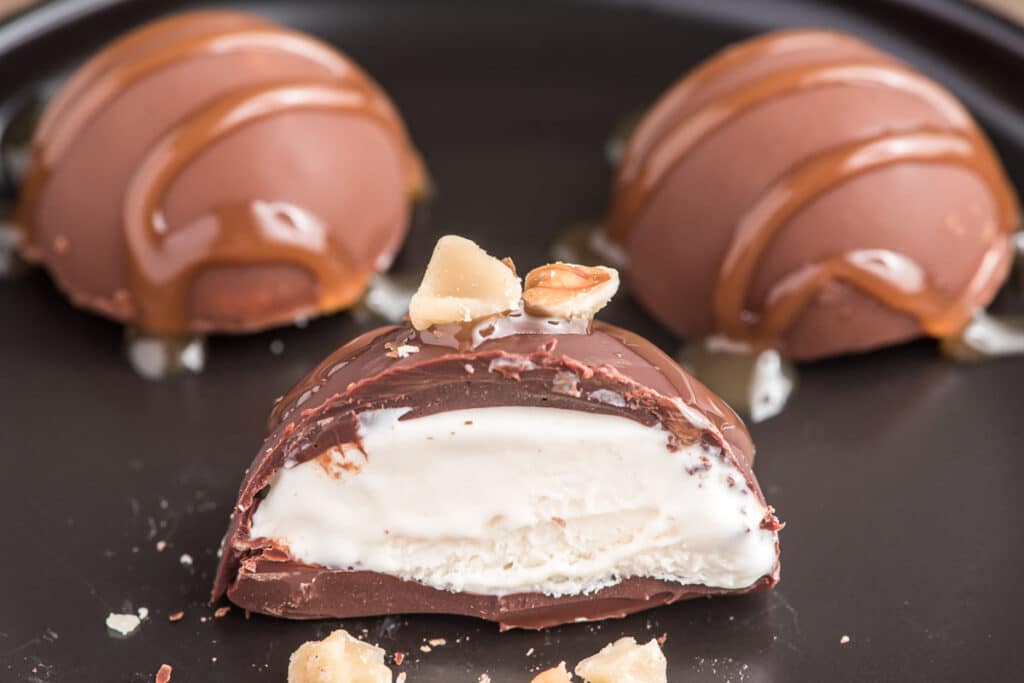
Delectable and bite-sized, these homemade chocolate ice cream truffles, also known as ice cream bonbons, combine the creamy richness of ice cream with the indulgent flavor of chocolate. These irresistible summertime treats are made by covering vanilla ice cream in a layer of chocolate coating, resulting in a luscious, melt-in-your-mouth dessert.
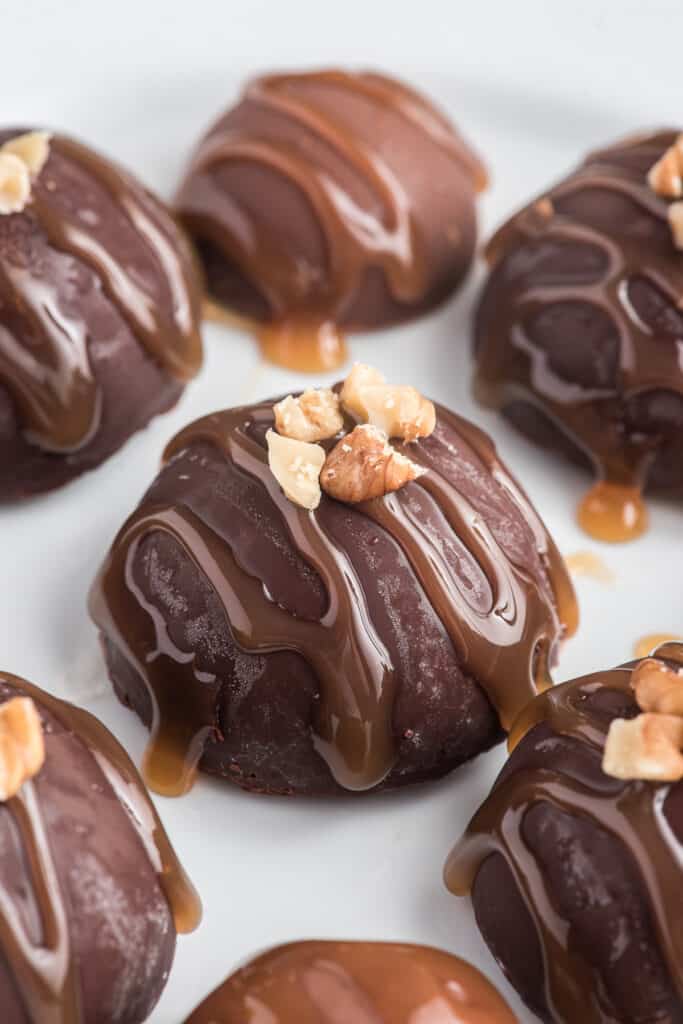
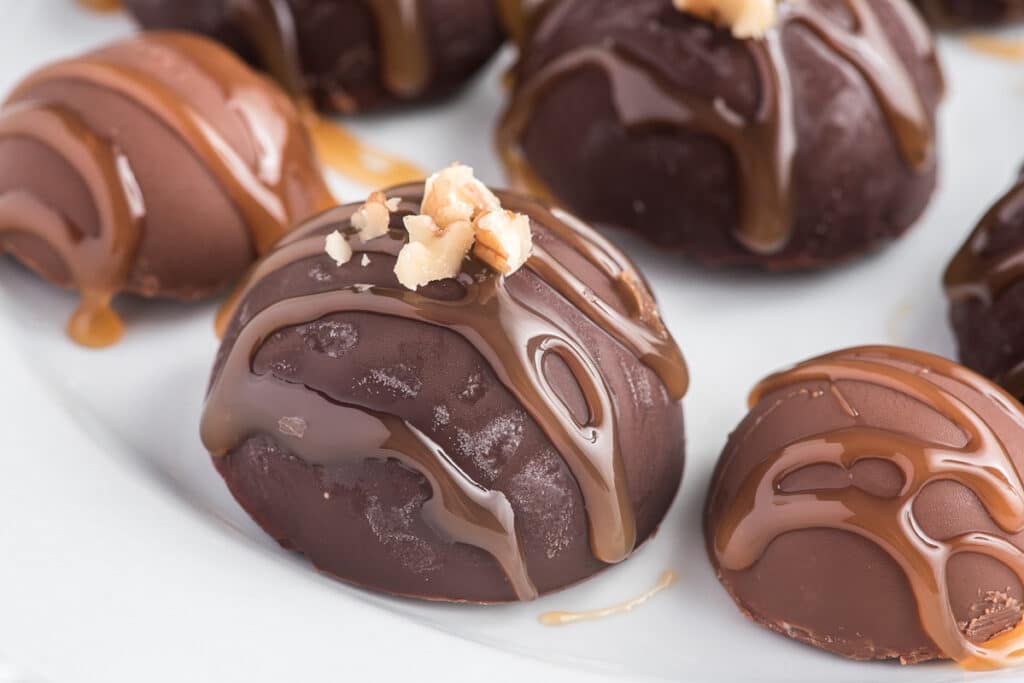
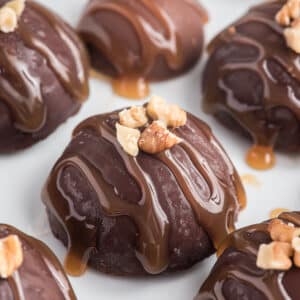
With a chocolate shell and vanilla ice cream base, these chocolate ice cream truffles will be your new favorite summer dessert recipe! The crisp chocolate exterior contrasts beautifully with the creamy ice cream center and it’s simply divine.
The inspiration for this recipe comes from my homemade filled chocolates that are great at the holidays but with a frozen ice cream center this version is perfect for warmer months. These small bites are just as decadent as a slice of my death by chocolate ice cream cake but in a more portion controlled bonbon size that you can eat one at a time!
They are also an easy and fun treat to serve to a group! Keep them frozen until you’re ready to serve, stack them up in a chilled bowl and watch them disappear.
What are Italian Ice Cream Truffles?
A true Italian ice cream truffle, called a tartufo, is made with 2-3 flavors of ice cream, has real fruit or syrupy fruit center and then is dusted with cocoa powder. Tartufo originates from the town of Pizzo in the region of Calabria, Italy and was created by a confectioner’s assistant there named Don Pippo.
The name tartufo translated in Italian means truffles and comes from the name of a fungi that grows underground. When dusted with cocoa powder the ice cream truffle dessert somewhat resembled the look of the truffle fungi. Today, though, tartufo has evolved to include many different forms! While this ice cream truffle recipe is not a true tartufo confection, it is similar with its creamy frozen center and chocolate shell.
Ingredients to make Ice Cream Bonbons
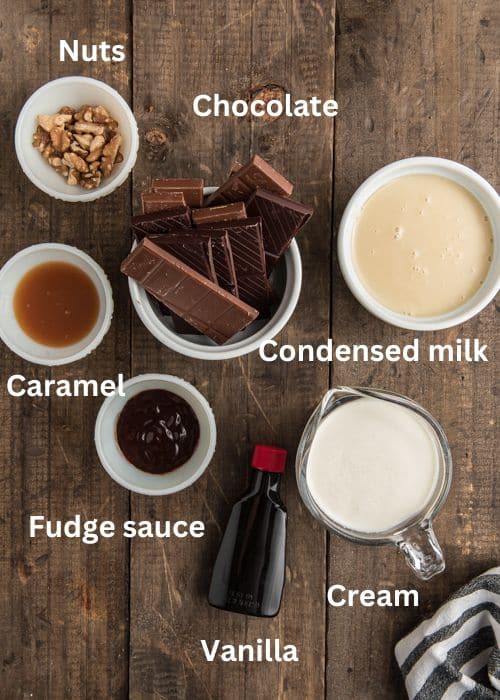
Every simple ingredient is well worth it for these homemade chocolate ice cream truffles!
- Chocolate shell: You will need 12 ounces of good quality chocolate. I used 6 oz of dark chocolate and 6 oz of milk chocolate.
- Homemade vanilla ice cream: For the no churn ice cream you will need sweetened condensed milk, whole or heavy whipping cream and vanilla extract.
- Extras: Chopped nuts, fudge sauce and caramel sauce.
- Tools needed: It is much easier to make these ice cream truffles coated in a chocolate shell when you use chocolate silicone molds. You will also need a mixer for your homemade no-churn ice cream.
Variations
- Ice cream: I love the simplicity of vanilla ice cream but this strawberry chocolate ripple ice cream, a rocky road ice cream, coffee ice cream or your favorite flavor would also work!
- Chocolate: Different types of quality chocolate could be used for the coating! Try milk chocolate, semi-sweet chocolate, dark chocolate, white chocolate or a combination. White chocolate could be tinted with a fun color for a festive treat!
- Peanut butter chocolate: Add some peanut butter chips to the melted chocolate for a peanut butter flavor.
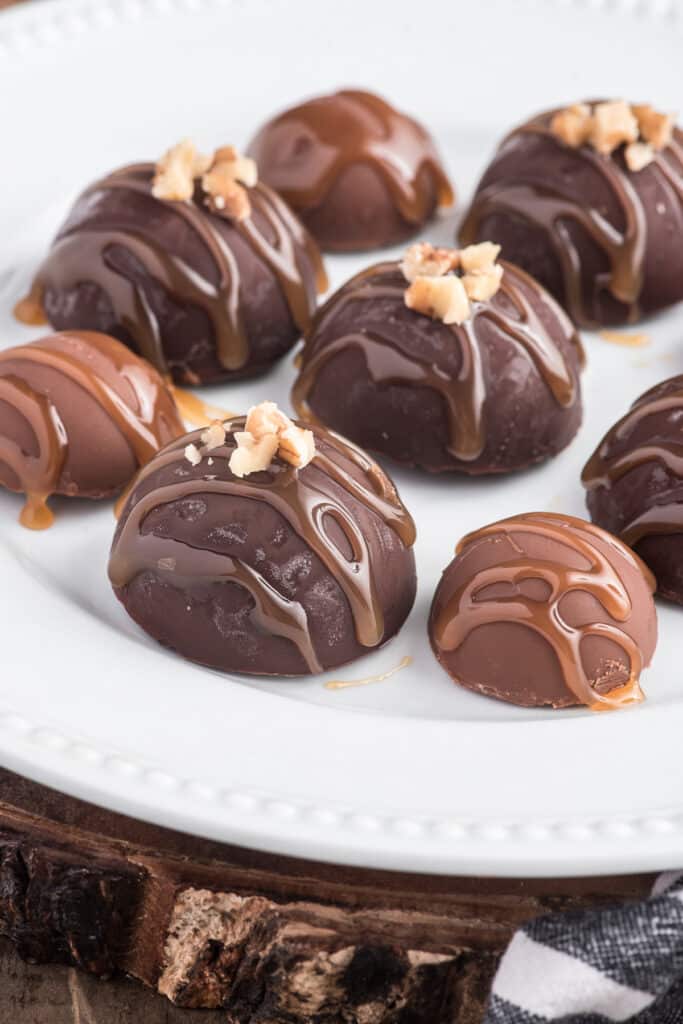
- Toppings: After removing the chocolate ice cream balls from the molds, decorate with leftover chocolate, nuts, crushed sandwich cookies, sprinkles, sea salt or flaked coconut. You could also drizzle them with chocolate sauce or caramel sauce!
How to Make Homemade Chocolate Ice Cream Truffles
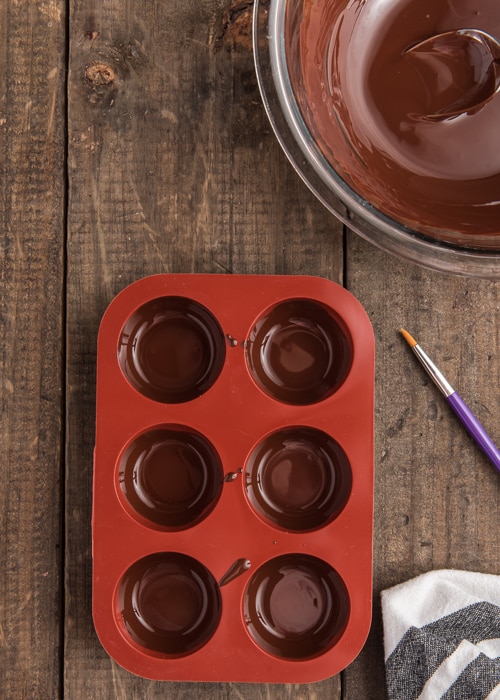
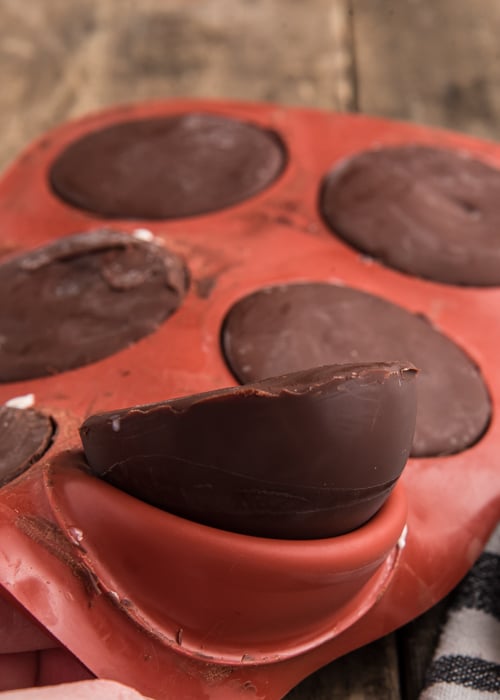
First you will make your chocolate shell coating. Melt each chocolate separately and cool for 10-15 minutes then coat the chocolate molds by swirling the chocolate or using a pastry brush. If necessary make a 2nd coating of chocolate to cover the gaps in the mold.
Place a wire rack on a baking sheet and flip the mold on top of the wire rack to empty out the excess chocolate, then place the mold in the freezer for 10 minutes to solidify.
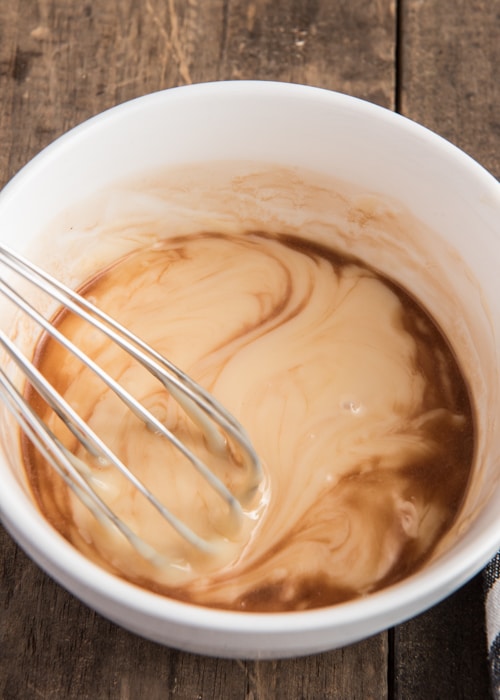
While your chocolate mold is in the freezer, make your ice cream filling in a bowl by first whisking together the sweetened condensed milk and vanilla to combine.
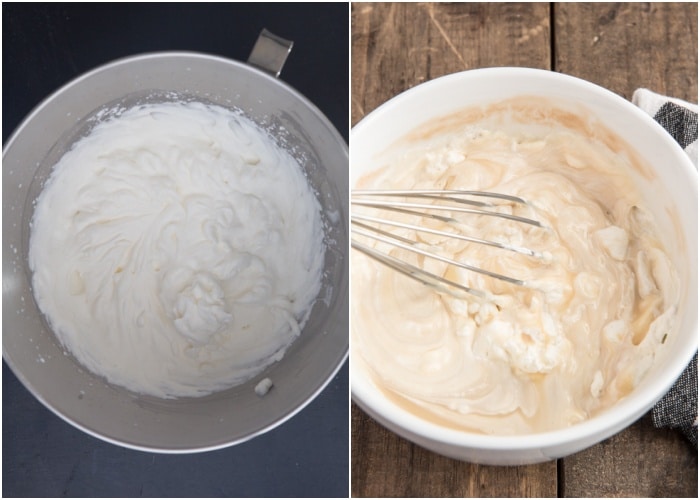
In an electric mixer, beat the heavy whipping cream until stiff peaks form, then add a little whipped cream to the sweetened condensed milk mixture to make it easier to combine, then fold in the rest of the whipped cream mixture.
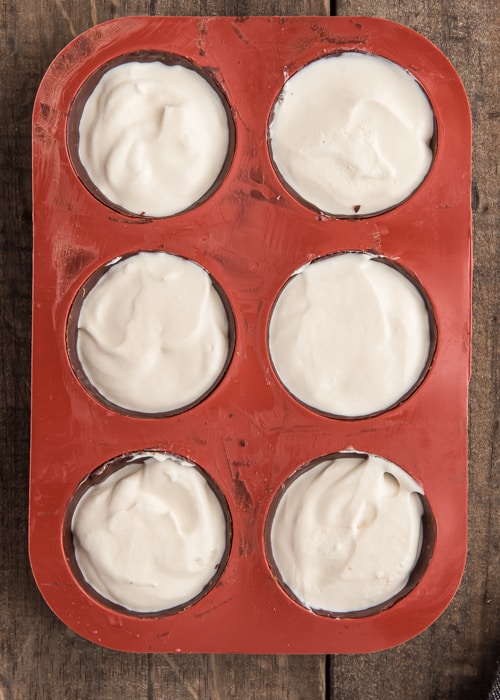
Now it’s time to assemble your ice cream truffles! Remove molds from the freezer, working quickly to fill with the ice cream filling then refreeze for approximately 30 minutes.
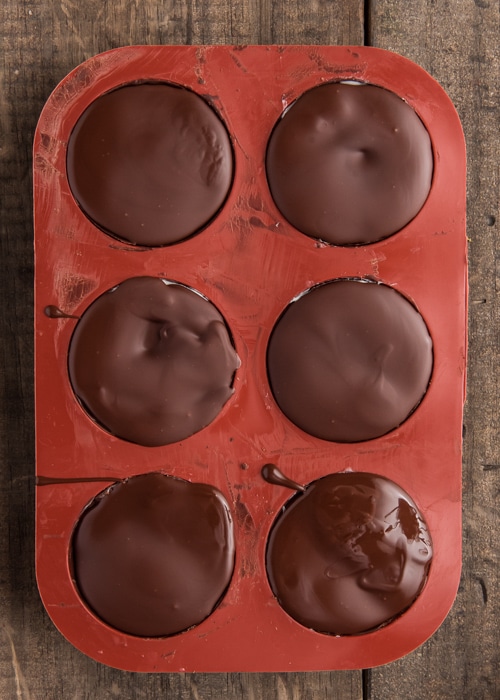
Remove the chocolate molds from the freezer, reheat your chocolate if it has hardened and cover the semi-frozen ice cream with the melted chocolate, carefully removing excess chocolate with a spatula. Freeze your ice cream chocolate truffles until completely frozen.
Remove chocolate ice cream truffles carefully from the mold, decorate as desired and serve immediately.
How to melt chocolate
To melt chocolate, start by chopping it into small, evenly-sized pieces. Then, choose your preferred method either stovetop / bain-marie or microwave.
For the stovetop method, fill a saucepan with a small amount of water and place it over medium heat. Set a heatproof bowl on top of the saucepan, ensuring it fits snugly, and add the chopped chocolate to the bowl. Stir the chocolate constantly as it melts, and remove it from the heat source as soon as it’s almost all melted, this allows for the heat to finish melting the chocolate.
For the microwave method, place the chopped chocolate in a microwave-safe bowl and heat it on low power or in short intervals, stirring well after each interval. Be careful not to overheat the chocolate, as it has a tendency to burn/scorch easily.
Low and slow is best when heating and melting chocolate. Whether you choose the stovetop or microwave method, you have to be patient, remember to stir consistently, and avoid getting any water or steam in the chocolate or the chocolate will seize and you will need to start over.
Expert Tips
- Chilled tools: Anything that touches the ice cream helps melt it that much more! A chilled spoon for scooping the ice cream into the molds is best and then serving on a chilled plate is recommended.
- Type of chocolate: Dark chocolate is easier to work with and is smoother than milk chocolate when filling your molds.
- Quality of chocolate: A quality chocolate with a higher percentage of cocoa butter melts and sets nicely for a smoother finish. I would not use chocolate chips.
- Leftover ice cream: If you have left over ice cream filling just freeze it in a container and enjoy at a later time.
- No chocolate mold? Freeze your ice cream mixture until it is scoop-able. Then use an ice cream scoop or melon baller to scoop your ice cream onto a chilled parchment lined baking sheet. Freeze for an hour. Remove and then roll into balls, freeze for another ½ hour or more. Remove from the freezer and roll your ice cream balls in cocoa powder or crushed Oreos. Alternately drizzle or dip with the chocolate shell coating and freeze again until hardened.
Storage
- Serve: Make sure you freeze your chocolate molds filled with ice cream for at least 5 hours before serving so that the chocolate has time to harden. After you have removed the ice cream truffles from the molds, serve immediately before they melt.
- Freeze: After removing the truffles from the chocolate molds, store in freezer safe bags or a large freezer container for up to two weeks.
Recipe FAQs
Tartufo, which in Italian translates to truffle, is an Italian ice cream dessert originating from the town of Pizzo, Italy. Tartufo is made with 2 or 3 flavors of ice cream, has a fruity center and is dusted with cocoa powder.
A little bit of both! A truffle is a rich chocolate candy that can be eaten for dessert. For this ice cream truffles recipe, the traditional rich fudgy center of the truffle candy is replaced by creamy ice cream for a cool, frozen treat perfect for summer.
The name comes from the resemblance between the small balls of chocolates to truffle fungi (mushrooms) that are found underground in the wild.
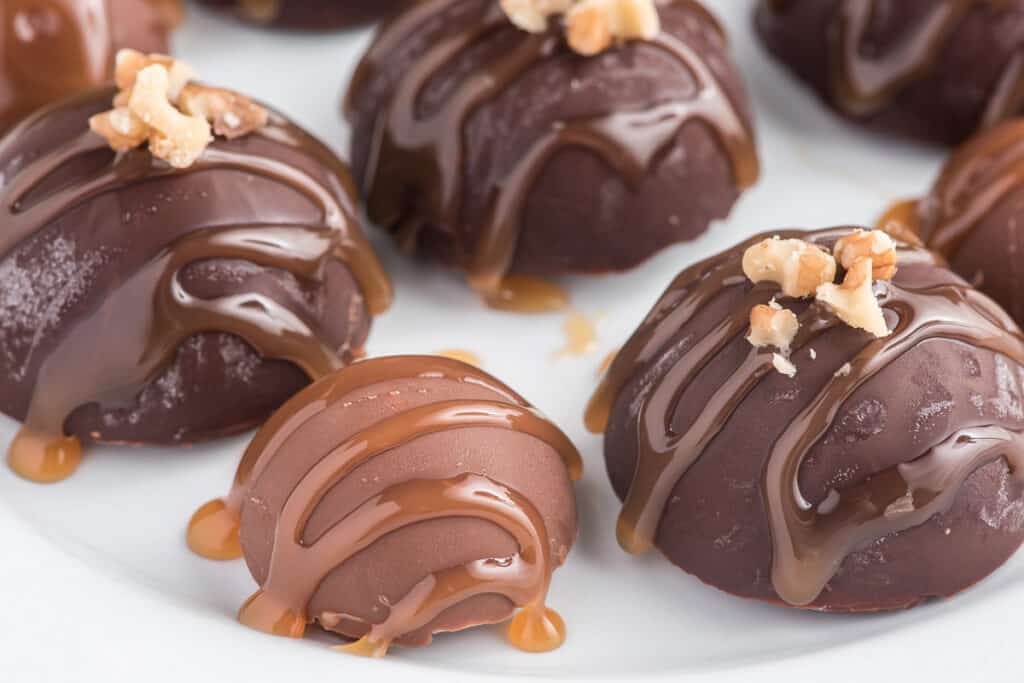
Ice cream truffles are a delightful and indulgent treat that combines the best of two worlds, ice cream and chocolate. With their creamy, frozen centers, luscious chocolate coatings and tasty drizzled toppings, they are sure to please any dessert lover. Enjoy!
Homemade Chocolate Ice Cream Truffles
Equipment
- 1-2 silicone molds
- 1 hand mixer
- mixing bowls
Ingredients
FOR THE CHOCOLATE SHELL *
- 6 ounces good quality Dark Chocolate (semi sweet)
- 6 ounces good quality Milk Chocolate
FOR THE ICE CREAM FILLING **
- 1 can sweetened condensed milk (14 ounces)
- 2 cups cream whole, heavy or whipping cream
- 1 teaspoon vanilla
EXTRAS
- ¼ cup chopped nuts
- 2-3 tablespoons fudge sauce
- 2-3 tablespoons caramel sauce
Instructions
FOR THE CHOCOLATE SHELL
- Melt the milk chocolate and dark chocolate separately either in the microwave or bain-marie. Melt until smooth. Remove from the heat and let cool approximately 10-15 minutes, coat the chocolate molds swirling it around (I used a pastry brush to fill in the empty spots), you may need to make a 2nd layer of chocolate to cover completely. Place a wire rack on a baking sheet and flip the mold on top of the wire rack to empty out the excess chocolate, then place the mold in the freezer for approximately 10-15 minutes. Meanwhile make the ice cream filling.
FOR THE ICE CREAM FILLING
- In a small bowl whisk together the sweetened condensed milk and vanilla, set aside.
- Beat the cream until stiff peaks form, add a little whipped cream to the vanilla/sweetened condensed milk mixture to make it easier to combine, then fold in the rest of the whipped cream mixture.
PUTTING IT TOGETHER
- Remove molds from freezer, fill with the ice cream filling (be sure not to over fill, just below the border), refreeze for approximately 30 minutes, while the ice cream is in the freezer re-heat the chocolate if it has hardened. Remove the chocolate from the freezer and cover with the melted chocolate, carefully remove excess chocolate with a spatula and freeze for again for 5 hours or even overnight until completely frozen and firm.
- Remove chocolates carefully from mold, decorate with left over chocolate, fudge sauce or caramel sauce, sprinkle with chopped nuts or whatever you desire. Serve immediately. Enjoy!
Notes
Nutrition
Updated from July 1, 2016.
They look amazing. What size of molds did you use for this? I have several half sphere molds but can not tell the size of these. Bite size or serving size?
Hi Darlene, thanks so much, I will be updating this post, these ones are bite size. I hope you like them. Take care!
where can I purchase the same silicone mold? Great recipe!
Hi Gina, I think I got those on Amazon, it was a long time ago.
can these icecream truffles be stored in the freezer then eaten out of the freezer or remove and let warm up
Hi Dorothy, yes they should be stored in the freezer and eaten straight out, I would not recommend letting them warm up. Hope that helps. 🙂
Thanks for stopping by Peace, Love. Linkup! Hope to see you tomorrow at 6 for more sharing goodness : )
Thanks Ashleigh.
OMG! Those truffles look amazing. What a perfect dessert for this long weekend. I’m pinning!! Have a great weekend.
Thanks Marisa, can’t get much better than chocolate for dessert! 😉 Have a wonderful weekend you too.
Yum!!!! It really does look easy to make. Just printed the recipe. Definitely will be making for the kids. Thank you and have a nice weekend.
Thanks Ann hope you and the kids like it. Have a wonderful holiday weekend.