Easy Lievito Madre Bread
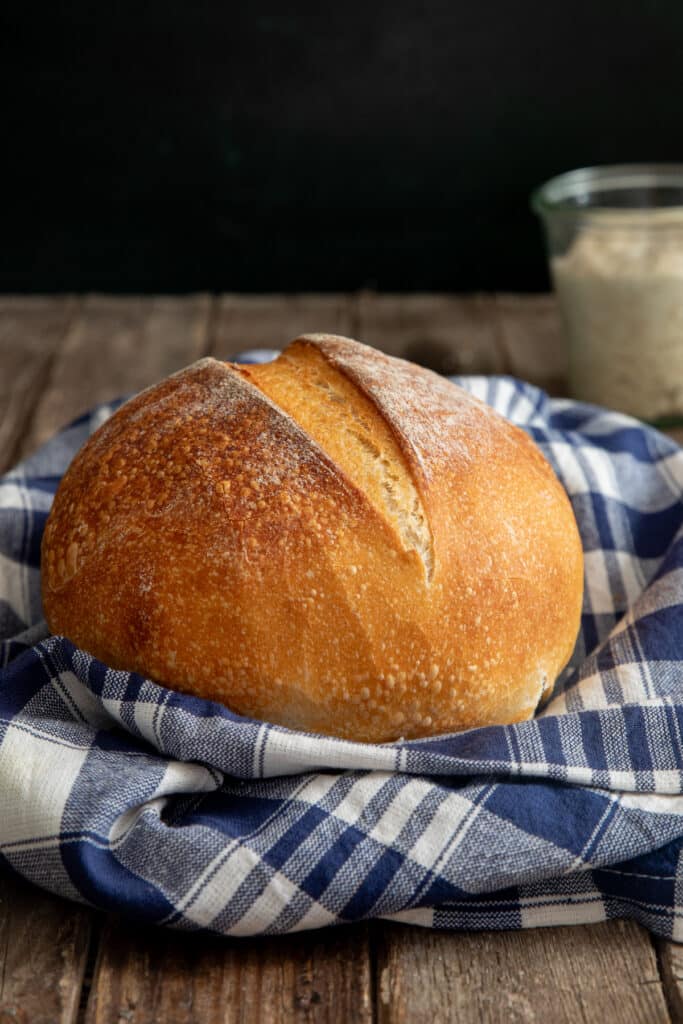
This easy Lievito Madre bread is a simple way to make an Italian sourdough bread that is light and fluffy with a thick crust on the outside. Using pasta madre produces a less sour tasting bread with a light crumb.
This easy Lievito Madre bread starts with my lievito madre Italian sourdough starter which is much different from my traditional sourdough starter as it is a lower hydration starter that results in homemade bread that is less sour in taste but much more crusty.
If you have had the chance to travel to Italy and tasted a bread that you thought might be sourdough but weren’t 100% sure, odds are that it was bread made with Lievito Madre (also called pasta madre or a stiff starter).
This rustic Italian bread produces a simple loaf with a mild, rounded flavor profile that tastes great!
Why I Love This Recipe
- Easy step-by-step process: The process to make this easy lievito madre bread is simple and straightforward. While it is a longer process to complete, it is mostly hands off.
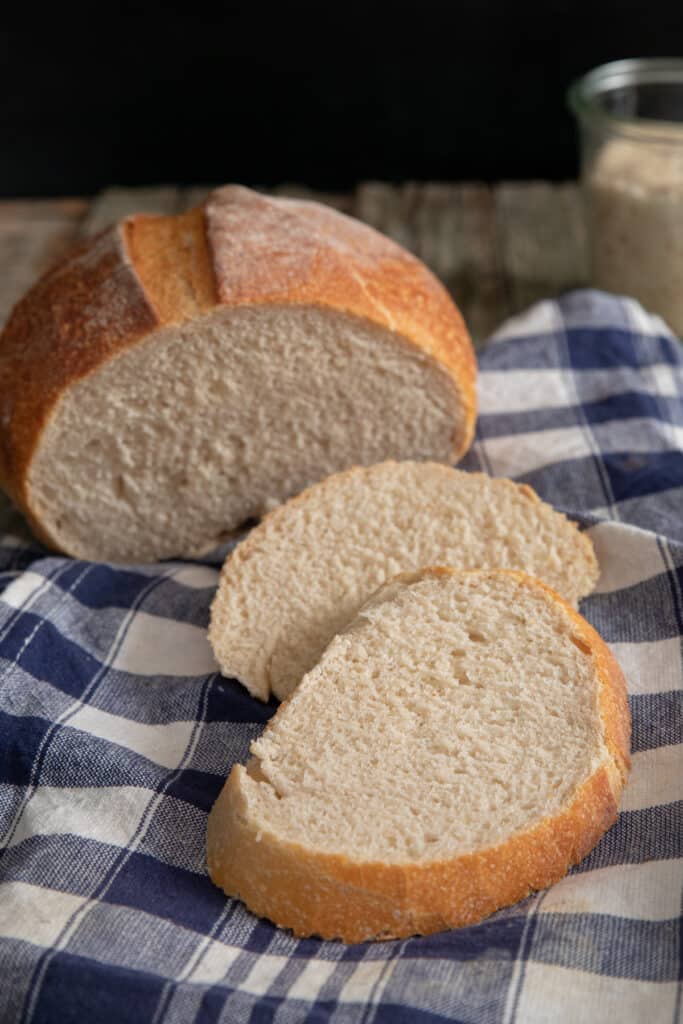
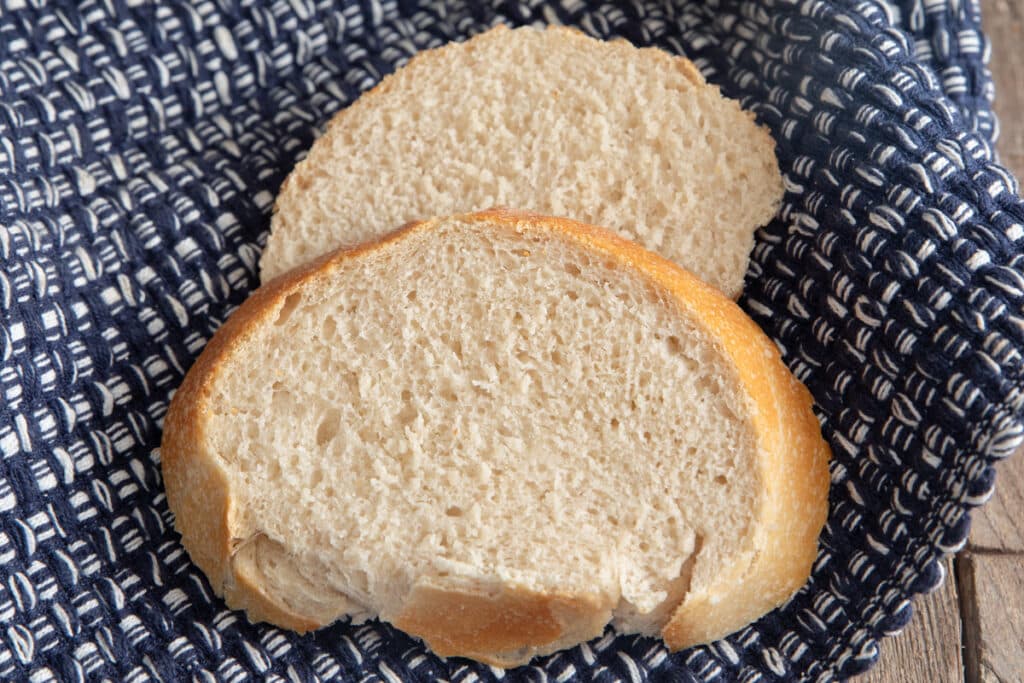
- Flavorful: A loaf of Lievito Madre bread has a well rounded flavor profile that is less sour with a light crumb and crusty exterior. It’s an excellent daily bread!
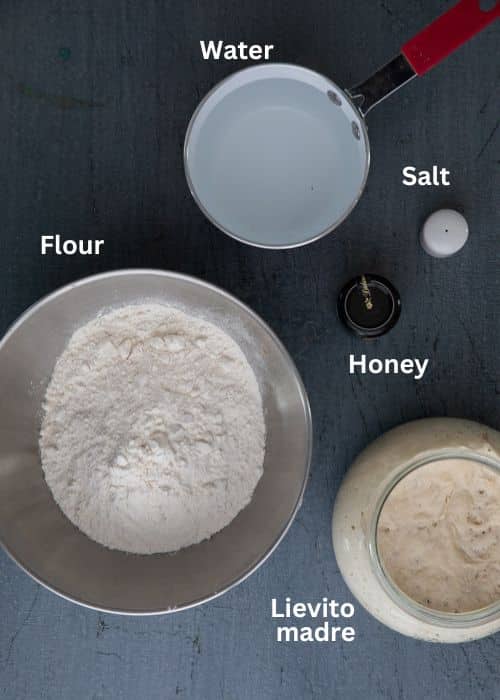
Ingredient Notes
- Lievito madre: Your Lievito madre sourdough starter needs to be active meaning that it has been fed a few hours up to the the night before before you use it.
- Salt: Salt enhances the flavor of the bread.
- Honey: Honey is a natural sugar that will help feed the natural yeast and give the bread a sweeter flavor.
- Flour: For this easy Lievito Madre bread, you can use either all-purpose flour or bread flour.
- Water: Lukewarm water is best to use.
How to Make Easy Lievito Madre Bread
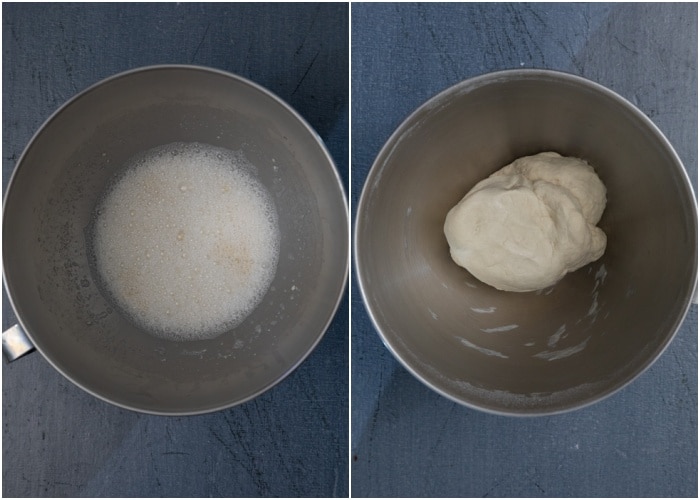
In a stand mixer add the water, honey and Lievito Madre broken into pieces, then use the paddle attachment to mix and combine. Switch to the dough hook, add the flour and knead one minute then add the salt and knead until the dough pulls away from the sides of the bowl.
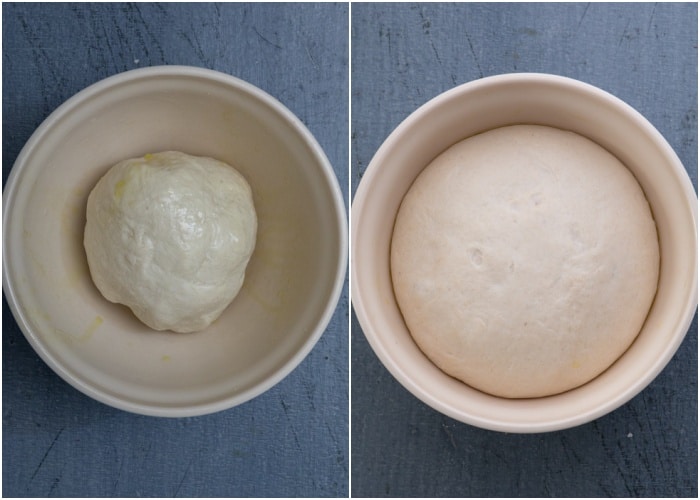
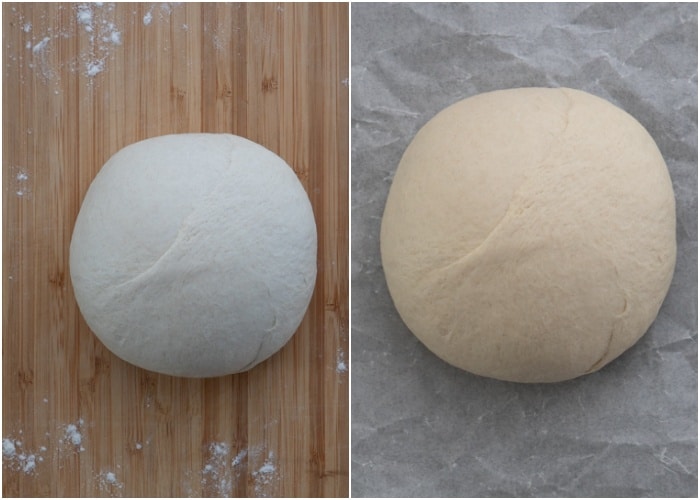
On a flat surface form the dough into a ball then place in a lightly oiled bowl turning the dough to lightly coat in the oil. Cover with plastic and let rise until doubled in volume.
Move the dough to a flat surface and fold one way then the other (like an envelope) then form into a ball or a small loaf, place on a parchment paper lined baking sheet, cover and let rise.
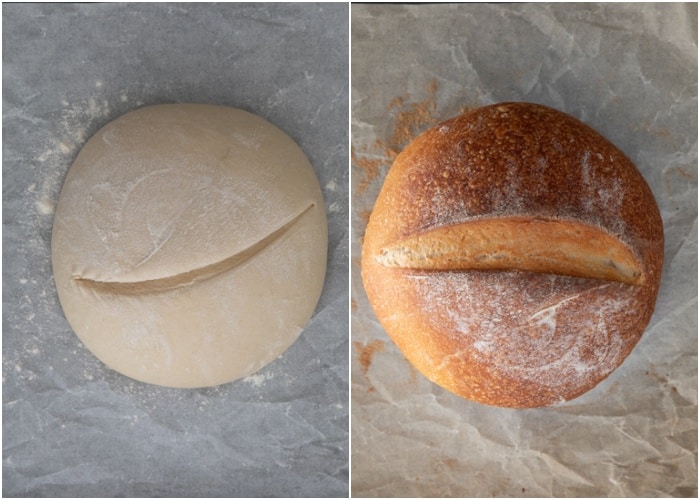
Dust the top of the loaf with a little flour and score. Place in the oven and bake. Move immediately to a wire rack to cool completely before slicing and serving.
Feeding the Starter
To make this bread with Lievito Madre, the starter needs to be active.
- Remove Lievito Madre from the refrigerator and bring to room temperature for an hour or two.
- Remove the dry top layer of the dough then weigh the dough. I usually discard around 100 grams of starter and then feed with 100 grams of flour, 45-50 grams of lukewarm water and 1/4 teaspoon of honey. The sugar from the honey helps the starter react.
- Mix together the starter then move to a lightly flour surface and knead to a compact dough. Mark dough with a cross, place in a clean jar, cover with plastic wrap and let rise until the starter had doubled in size.
- The starter is now ready to be used in this easy Lievito madre bread recipe!
recipe tips
- Feeding the starter: Your starter must be fed and active! I usually do this the night before baking.
- Bulk fermentation and proofing: The bulk rising times and proofing times may vary based on the temperature, humidity or elevation of your home. I rely if the dough has doubled in bulk, has visible air bubbles and passes the indentation test, i.e. poke the dough with your finger and it should slowly fill back in.
- Adhere to the one simple stretch and fold: Classic sourdough relies on multiple stretching and folding to strengthen the gluten. For this recipe, the gluten develops as it rests. It only needs one simple stretch and fold before the 2nd rise time.
- Create moisture in the oven: Don’t skip adding hot water to a separate pan on a lower rack in the oven. This creates moisture in the oven and the artisan-bread result.
- How to know when bread is done: When done baking the bread should have an internal temperature of 210°F. If it does not lower the heat to 350°F until done baking.
- Don’t rush the process: Good bread takes time, including this easy lievito madre bread.
Storage
- Store: Store this rustic sourdough in a paper bag at room temperature for 4-5 days.
- Freeze: Cool completely then wrap in plastic wrap then foil and store in a freezer safe bag for up to 3 months. Thaw at room temperature.
More Lievito Madre Recipes
- Lievito Madre Focaccia
- Lievito Madre Pizza Dough
- Lievito Madre Chocolate Chip Cookies
- Lievito Madre Irish Soda Bread
If you enjoy making your own sourdough starter then I hope you will enjoy this Lievito Madre Bread! Buon Appetito!

Easy Lievito Madre Bread
Ingredients
- lievito madre (active) 100 g
- 1 teaspoon salt
- ½ teaspoon honey
- all purpose flour or bread flour 300 g
- water (lukewarm) 155 ml
Instructions
- In a stand mixer add the water, honey and lievito madre broken into pieces, mix to combine. Add the flour and knead one minute then add the salt and knead 5-6 minutes until the dough pulls away from the sides of the bowl. ½ teaspoon honey
- On a flat surface form the dough into a ball then place in a lightly oiled bowl turning the dough to lightly coat in the oil. Cover with plastic and let rise 8-10 hours or until doubled in volume.
- Move the dough to a flat surface and fold one way then the other (like an envelope) then form in to a ball or a small loaf, place on a parchment paper lined baking sheet, cover and let rise for approximately 4 hours.
- Pre-heat oven to 480F / 250C. Place an empty pan at the bottom of the oven. When the oven has pre-heated add a cup of very hot water to the pan before placing the bread on the baking sheet in the oven on the middle rack.
- Dust the top of the loaf with a little flour and score. Place in the oven and bake 10 minutes, lower the heat to 425F/220C and bake again for 10 minutes, then lower the heat to 400F/200C and bake again for 10 minutes, if the bread is not done (internal temperature 180 – 210F / 82-99C) then lower the heat to 350F/180C and bake for another 5-10 minutes or until done. Move immediately to a wire rack to cool completely before slicing and serving. Enjoy!