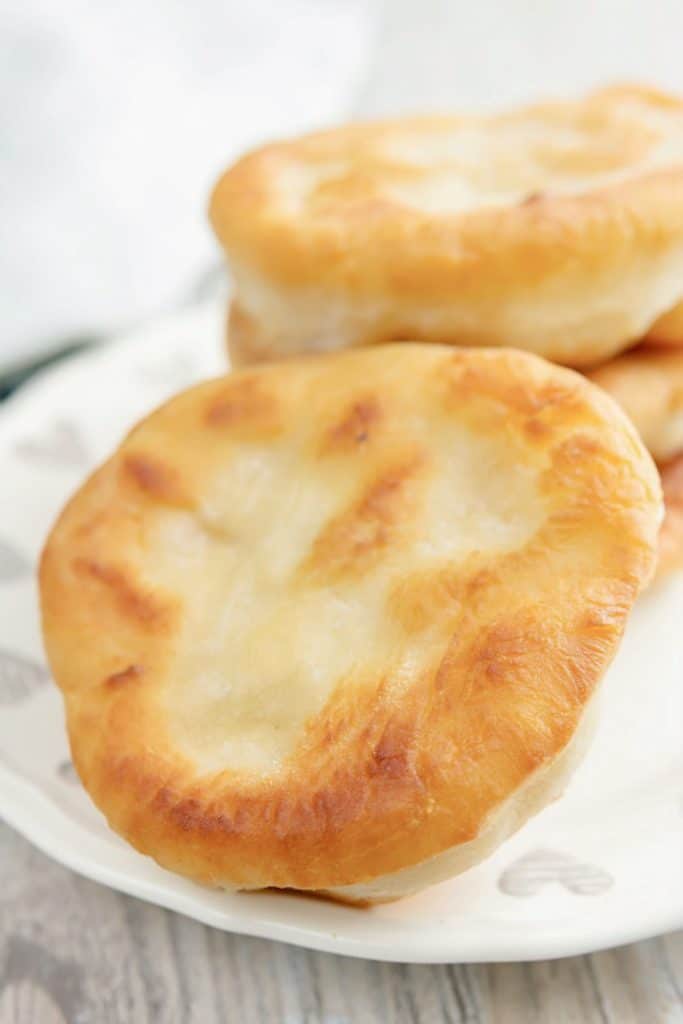
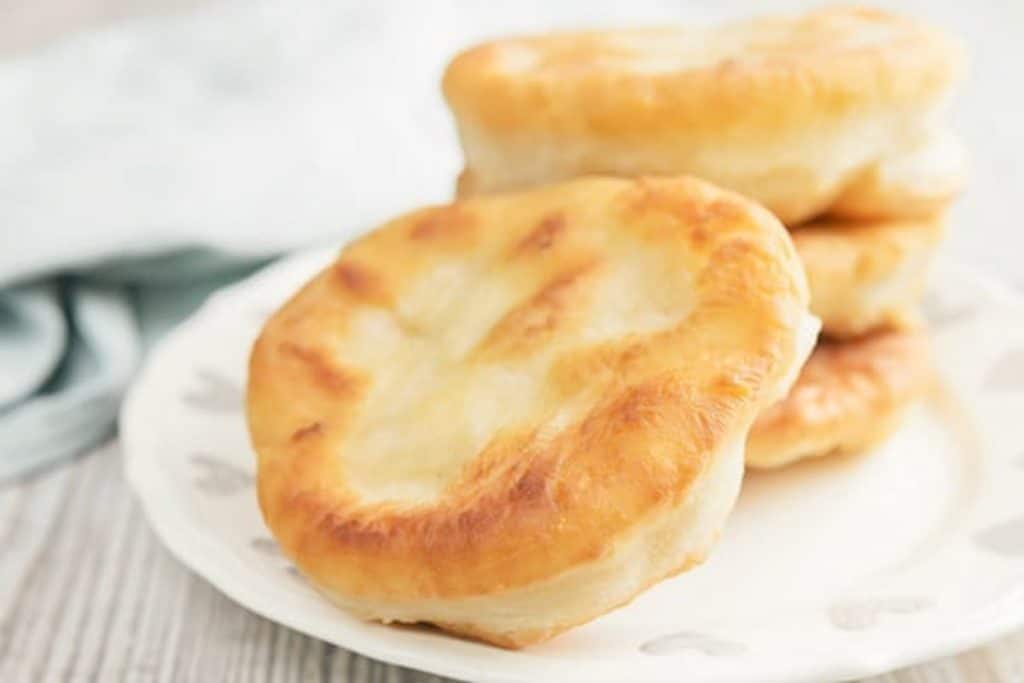
Easy Bannock Bread
Bannock Bread is an easy skillet no yeast fried bread recipe. A traditional Scottish/Indigenous bread made with simple pantry ingredients. Perfect when a quick bread is required or even around the campfire!
I originally shared this recipe six years ago when Canada was celebrating 150 years.
I decided I had to include one of Canada’s Native Peoples recipes. Without getting into the political surrounding of our not so wonderful treatment of our First Nations, I would like to tell you a bit about the origin of Bannock, this simple fried bread.
Recipe Ingredients
- Flour – all purpose flour
- Baking powder
- Salt
- Oil – either olive oil or vegetable oil
- Water
- Vegetable oil for frying
As you see this type of bread has a leavening of baking powder and not yeast. Sometimes we get the urge for some bread but don’t have the time or the desire to wait for the rising time. Every now and then I like to make a No Yeast Pizza dough, or a delicious sandwich can be made with this Italian Flat Bread or why not an easy Irish Soda Bread?
How to make Bannock
In a large bowl whisk together the flour, salt and baking powder. Then add the olive oil and whisk together with a fork, gradually add water and stir until the mixture until it almost holds together.
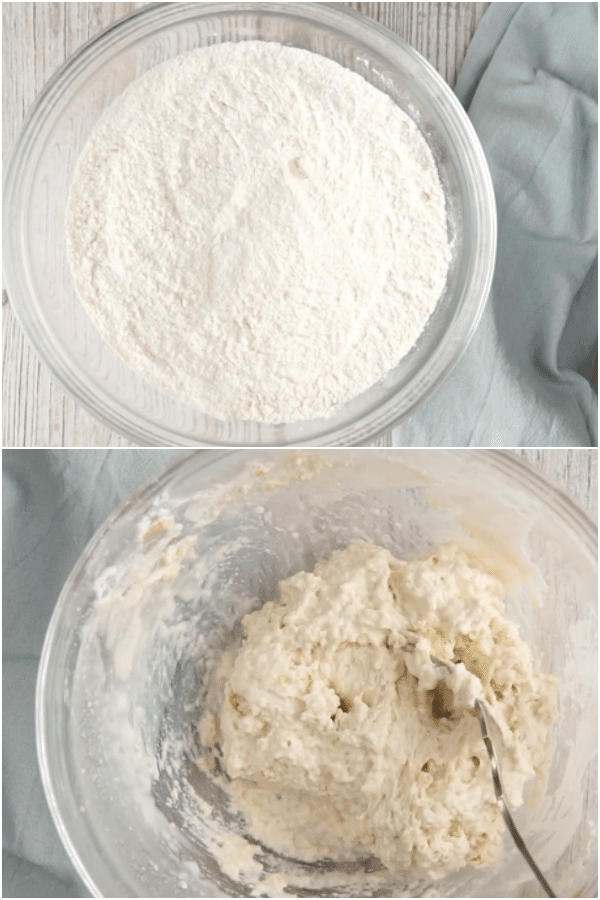
Move to a lightly floured flat surface and gently knead about 10 times just until the dough comes together (the dough will be sticky, do not over knead).
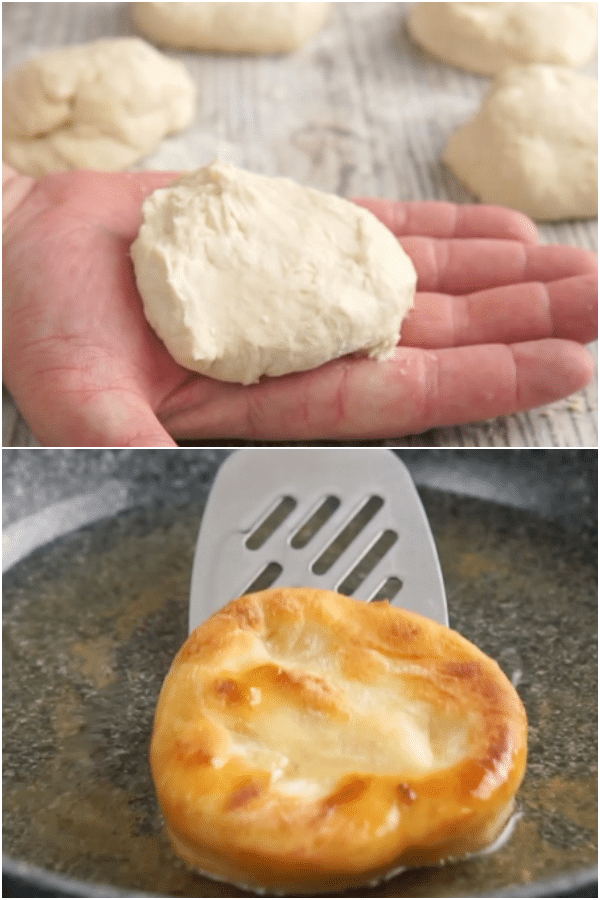
Divide into 5 balls and flatten with the palm of your hand. In a frying pan or cast iron skillet, fry the bannock in hot oil (350F/175C)on medium heat (enough to cover the bottom of a medium frying pan), until golden brown on both sides (and cooked on the inside).
Drain on a paper towel lined plate and eat warm or at room temperature.
The Origin of Bannock Bread
Bannock an unleavened bread, was originally brought to North America by Scottish explorers and traders. Indigenous peoples in particular Métis adopted bannock in their cuisine in the eighteenth and nineteenth centuries probably after their encounters with Scottish fur traders.
As a result, even today many Métis and aboriginal western Canadians often prepare this dish. In western Canada, bannock is much more associated with native and Métis culture than with its Scottish roots.
Traditionally it was made with barley or oats, fat or lard and water. Then sugar and milk even buttermilk were added.
When to serve Bannock bread
With very few ingredients and easy to make Bannock is perfect as an accompaniment with a meal or even for Breakfast. It is often made when camping and it has been used as a staple food for wilderness explorers, trappers, and prospectors for centuries.
Tips for making the Best Bannock Bread
- Whisk the dry ingredients before adding the oil and water. I used olive oil but vegetable oil is more traditional.
- Bring the dough together with a fork.
- Move the Bannock dough to a lightly floured surface and knead only until the dough comes together.
- Do not over knead, this is not a yeast dough, and will be a little sticky, so therefore extra flour is not needed.
- Break off pieces of dough and flatten with the palm of your hand.
- Fry in hot oil on medium heat until golden brown and then turn to brown on the other side.
- Drain on paper towels.
- Eat warm or room temperature.
Can it be made with whole wheat flour?
Yes this bread can be made with whole wheat flour. It can also be baked rather than fried. Baked on a lightly oiled baking sheet in a pre-heated at 350F (180C) for 25 to 30 minutes.
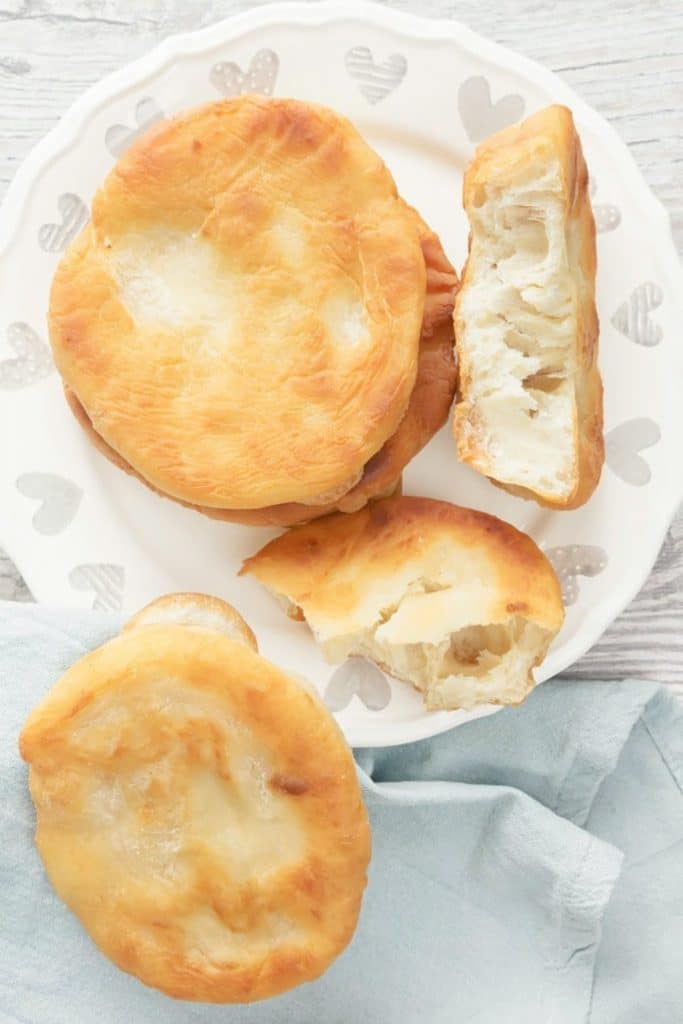
Although baked Bannock is heavy and dense whereas fried is light and fluffy.
How to store Bannock
It is recommended to eat the bread as soon as it is made, this type of bread isn’t advised for storing.
I hope you decide to give this simple yeast free Bannock Bread a try and let me know what you think. Enjoy!
Easy Bannock Bread
Ingredients
- 2 cups all purpose flour
- 2 teaspoons baking powder
- ½ teaspoon salt
- 1 tablespoon olive oil or vegetable oil
- ¾ cup water
- vegetable oil for frying
Instructions
- In a large bowl whisk together the flour, salt and baking powder.
- Then add the olive oil and whisk together with a fork, gradually add water and stir until the dough almost holds together. Move to a lightly floured flat surface and gently knead about 10 times just until the dough comes together (the dough will be sticky, do not overknead).
- Divide into 5 balls and flatten with the palm of your hand. Fry in hot oil (350F/175C)on medium heat (enough to cover the bottom of a medium frying pan), until golden brown on both sides (and cooked on the inside). Drain on a paper towel lined plate and eat warm or at room temperature. Enjoy!
Notes
Nutrition
Updated from June 29, 2017.
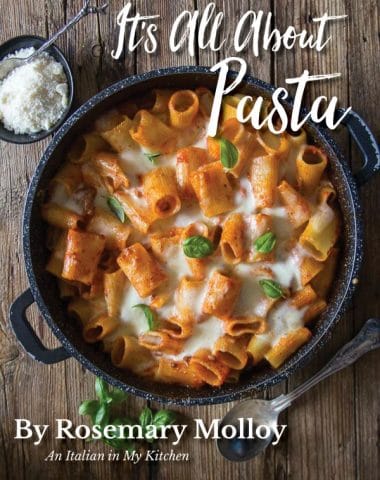
It’s All About Pasta
Amazing pasta recipes to make your mouth water!

Authentic Italian Desserts
75 Traditional Desserts Made Easy
Since it states you should eat as soon as you fry the dough, wondering if you could refrigerate half the dough & make some later. I also thought could cut recipe in half, since it is only me that will be eating them.
Hi Janice, you really can’t refrigerate the dough since there is baking powder in the dough, but you could half the recipe. Take care!
Can the dough be made in the bread machine
Hi Barb, I have never used a bread machine, you can try. Let me know how it goes. Take care!
Hi Rosemary, these are so yummy, after frying I sprinkle cinnamon mixed with a little clove and nutmeg sugar on them!
Thank you for sharing this recipe–like all your others it is written clearly and very easy to follow.
Thank you again.
Hi Yvonne, thanks so much, so glad you enjoyed the recipe, great idea with the cinnamon. Take care!
Simple and yummy! I was craving bread and we were all out in the middle of a very snowy winter strom so I needed something simple to make quickly. This filled in my craving! Reminded me of bread dough my mom used to make, which she used frozen loaves of bread for, thawed overnight, until they rose, and then punched down to form small patties, which puffed up while frying in oil, and looked like doughy clouds. So these looked very much the same! Tasted like fresh bread, I had some with butter, and also used some for mini pizzas, topped with tomato sauce and grated cheese and which tasted great and were very quick to make! I also used King Arthur gluten free flour and was not sure it would work with the right consistency for a quick fry bread, but came out just like regular flour, so bonus! Thanks so much for sharing!
Hi Sue, thanks so much, so glad you enjoyed the recipe. And thank you for sharing your ideas and that you made them gluten free. Take care!