Tiramisu Ice Cream / Gelato
This easy Tiramisu Ice Cream, is one of the most popular Italian Desserts made into a creamy delicious Homemade Ice Cream treat. It’s fast and easy and can be made with or without an ice cream maker!
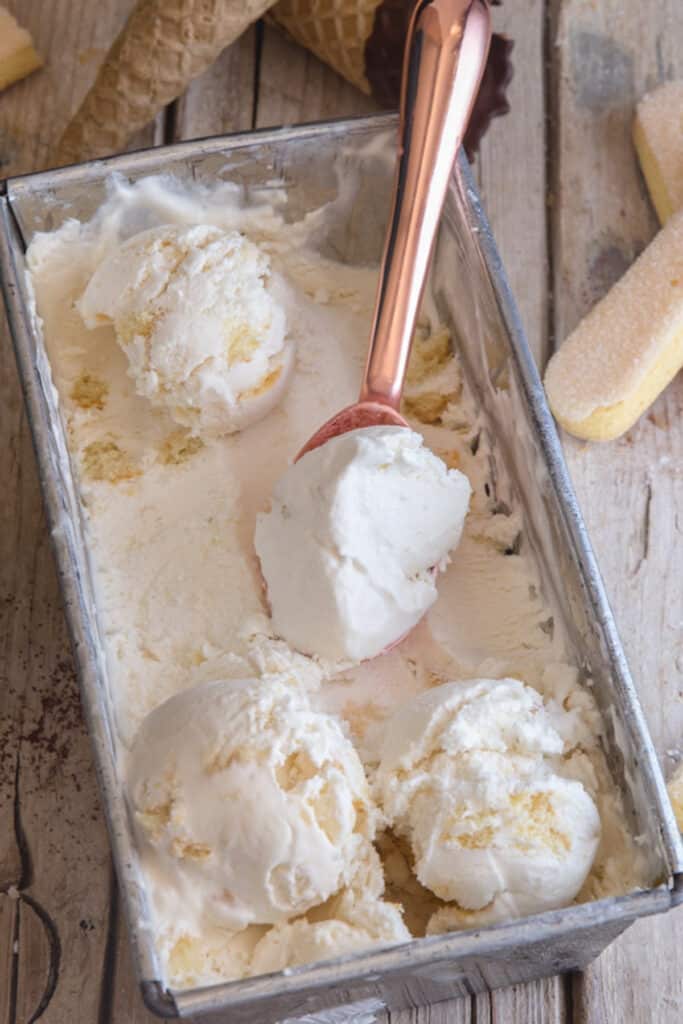
I actually posted this recipe back in 2015, but I received a few emails letting me know that the recipe was a disaster. The old recipe I was instructing you to heat the mascarpone, milk and sugar together.
This was resulting in a separation of the ingredients. So I decided to redo it, and it did work for me, so this made me think that the fat content or ingredients in the mascarpone or milk could be different. So therefore I adjusted the recipe.
Recipe Ingredients
- Coffee – strong cold coffee
- Milk – 2% or whole milk
- Sugar – granulated sugar – fine sugar is even better
- Mascarpone cheese – whole fat
- Cream – whole, heavy or whipping cream with at least 30% fat content
- Ladyfingers
I made the Gelato recipe no-churn and machine friendly. The Italian and his daughter liked them both, but they both preferred the machine gelato. I think it comes out creamier.
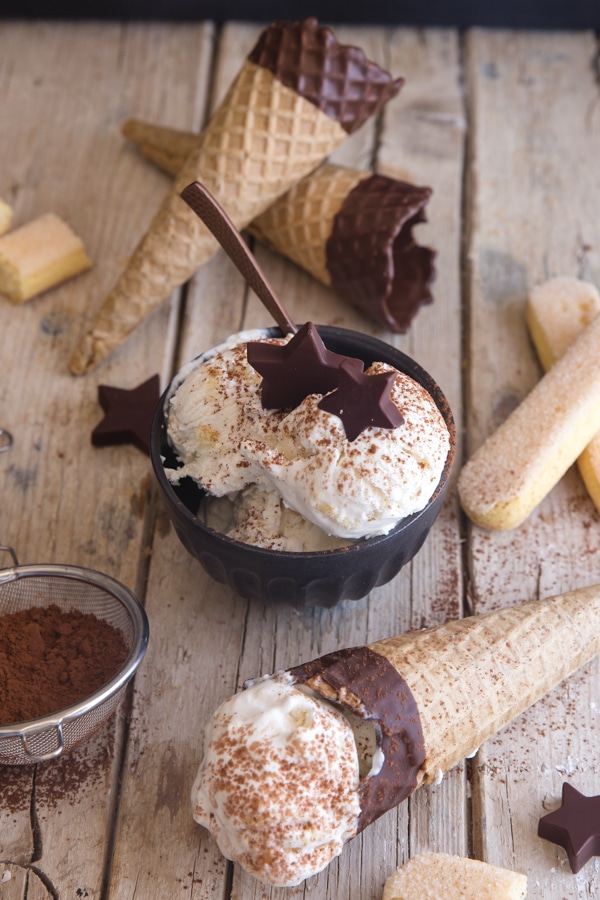
During these hot Summers Days when you are craving a creamy homemade ice cream I hope you give this Tiramisu Ice Cream a try, whether you make it with a machine or No-churn.
You also might want to try a couple of these Ice Cream Recipes
- No-Churn Cappuccino Ice Cream
- Creamy Fresh Peach Ice Cream
- Death by Chocolate Ice Cream Cake
- Baileys Chocolate Chip No-churn Ice Cream
- Chocolate Nutella Gelato
How to make No-churn Tiramisu Ice Cream
- Heat the coffee, milk and sugar until hot but not boiling.
- Stir until the sugar has dissolved.
- Refrigerate until cold.
- In a bowl add the mascarpone, whipping cream and cold coffee mixture and beat on medium speed until soft peaks form.
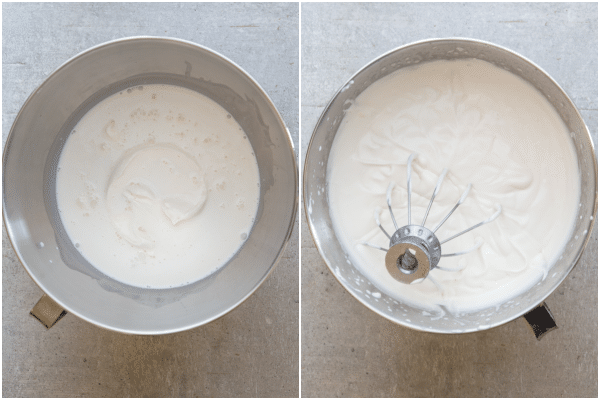
- At this point you can either add to your Ice Cream Maker or place in an airtight container and freeze until firm.
Homemade Tiramisu Ice Cream with the Ice Cream Maker
Follow the directions with your machine and when the ice cream is almost made add the cubes of lady fingers, then continue with the machine until the Ice Cream has formed.
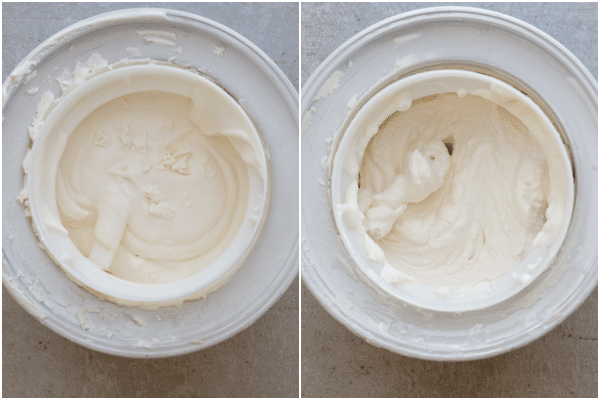
My machine is quite old so I like to freeze it a bit longer to firm it up even more. Although I did taste a few spoonfuls!
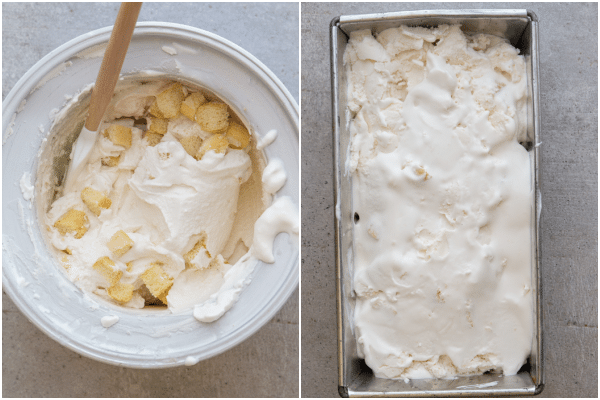
Homemade Tiramisu Gelato No-churn
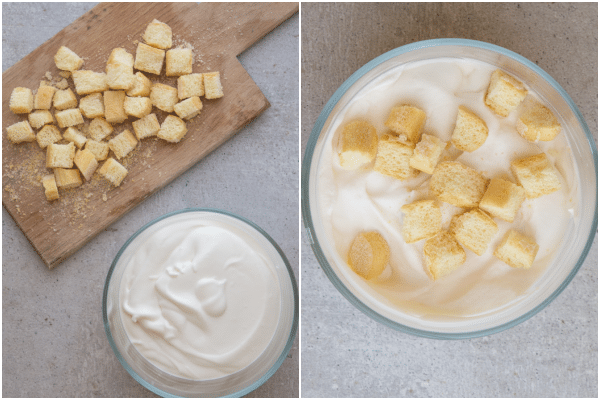
After you have whipped the ingredients until soft peaks form, fold in the cubes of lady fingers and then place the mixture into an airtight container. Freeze until firm, about 3-5 hours. Although it is creamier and tastier with a machine.
How long does Homemade Ice Cream keep in the freezer?
Homemade Ice cream should be stored in an airtight container in the freezer. It will last up to two weeks.
I especially love Homemade Ice Cream Recipes whether they are no-churn or machine because they contain no eggs. And if you are a Tiramisu fan like my family is you might want to check out these yummy Easy Tiramisu Recipes.
So whichever Homemade Ice cream you decide to make I hope you enjoy it! And be sure to let me know what you think. Have a great weekend and stay cool!
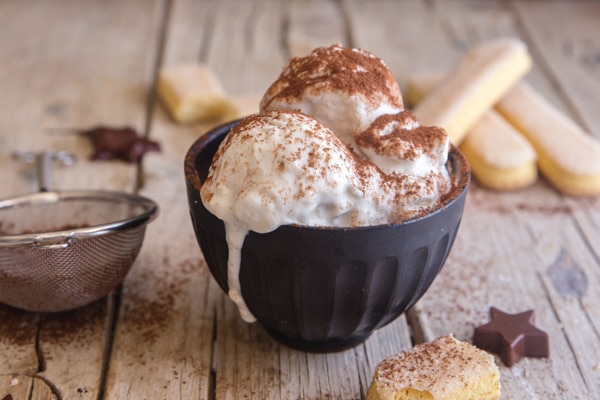
Tiramisu Ice Cream / Gelato
Ingredients
- 1/4 cup strong coffee
- 1/2 cup milk whole or 2% (I used 2%)
- 3-4 tablespoons granulated sugar – fine sugar is even better (not powdered sugar)
- 1 cup mascarpone cheese whole fat
- 1 1/4 cups whole/whipping/heavy cream with at least 30% fat content
- 4-5 lady fingers (cut into small cubes)
EXTRAS
- 1-2 tablespoons unsweetened cocoa for dusting
Instructions
- In a medium pot heat the coffee, milk and sugar stirring until sugar dissolves. Place in a bowl and refrigerate until cold.
- In a mixing bowl add the mascarpone, cream and cold coffee mixture, beat until smooth and thickened and soft peaks form. If using an ice cream maker then add the mixture into the machine, when it's almost done (time depends on the ice cream maker directions) add the cubed lady fingers, continue with the machine until Gelato reaches desired thickness. Serve immediately dusted with cocoa if desired. Or freeze until firmer. Enjoy!
- If making no-churn ice cream, then fold in the lady finger cubes into the soft peak creamed mixture and spoon into an air tight freezer container and freeze for at least 3-5 hours or until firm. Although it is tastier and creamier with the machine. Serve dusted with cocoa. Enjoy.
Notes
Nutrition
Updated from May 10, 2015.
Also, just take out of freezer 15-20 min prior to serving…no crystals and relaxes to a very creamy texture
Hi, I don’t have the ice cream machine so I put it in the freezer in airtight container as per the recipe but it came out all frozen and frosty, the texture was not nice…
Hi Sindija, that’s why if it says you need an ice cream maker you really do. If it says no churn then you don’t need a machine. 🙂
It was so easy. We couldn’t stop eating it. Excellent!
Hi Vazquez, thanks so much, so glad you enjoyed it.
I made this today and was a bit disappointed. I thought the coffee taste was barely there. In the recipe it calls for whole/whipping cream; does this mean not to use the light version? I used my ice cream maker but was a bit confused on do I have to beat it first and get soft peaks and the transfer to the the cream maker to finish? It came together very quick in the ice cream maker; less than the 15-20min it normally takes and I had to hand fold in the lady fingers. When it froze it was just so crumbly
Hi Karey, whole or whipping cream has at least 30% fat, light cream won’t produce the same effect. And yes you have to beat it until soft peaks form then add to the machine. It was probably crumbly because of the light cream. Hope that helps.