Chocolate Covered Honeycomb Candy
This chocolate covered honeycomb candy is a fun and festive candy made with a mixture of sugar, corn syrup and baking soda which creates a light and airy honeycomb with a crispy bite. Dip it in chocolate for the best blend of flavor and textures!
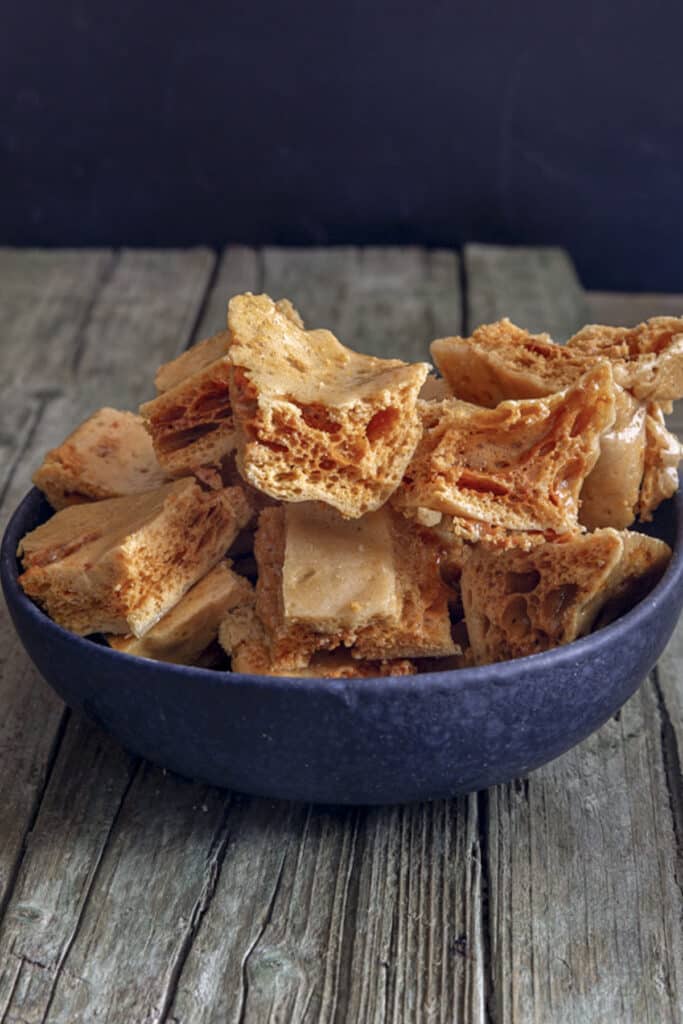
While I am not a huge candy fan, I am a chocolate lover and this chocolate covered honeycomb candy reminds me of my favorite chocolate bar back in Canada called a Crunchie Bar.
It’s crave-worthy and easy to make homemade which saves me from shipping it when my stash runs out! If you are in the US it is similar to a honey-infused Butterfinger, in England it is called a Cadbury Crunchie bar and still in Australia a Violet Crumble bar.
It has a familiar caramel candy flavor with a homemade toffee crunch. It’s crispy but not hard and pairs perfectly when covered in chocolate!
Why You’ll Love Chocolate Honeycomb
- Simple ingredients: Pantry staples like sugar, corn syrup and baking soda magically turn into one of the most addictive treats that you can make!
- Light and airy: The honeycomb has a light crisp texture that pairs well with the rich sweet chocolate.
- Allergy friendly: Honeycomb candy is gluten-free, egg-free and soy free. Use dairy free chocolate chips for a dairy-free honeycomb and chocolate treat.
- Fun to make: Baking soda stirred into a sugary corn syrup mixture causes air bubbles that then cools into an airy texture – it’s basically a science experiment that results in a sweet treat!
Honeycomb Candy Ingredients
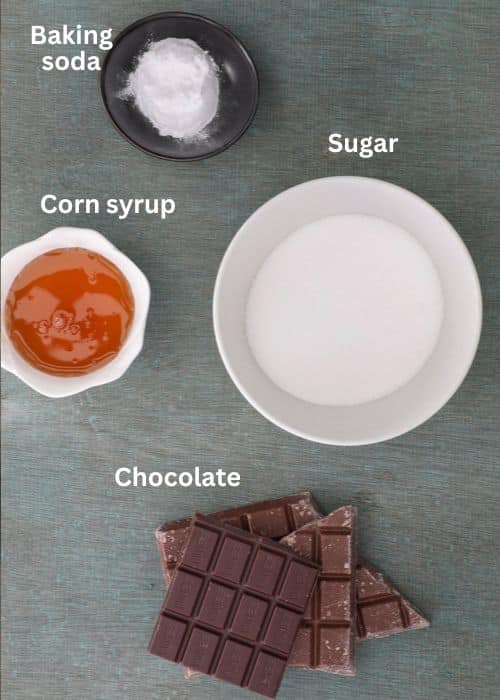
- Sugar: Granulated sugar helps create a caramel-like candy.
Corn syrup: I prefer light corn syrup, but dark corn syrup will work. - Baking soda: Fresh baking soda will ensure that your candy foams up and creates a honeycomb structure.
- Chocolate: A good quality chocolate is best for chocolate covered honeycomb but a chocolate coating such as chocolate almond bark works, too.
How To Make Chocolate Covered Honeycomb
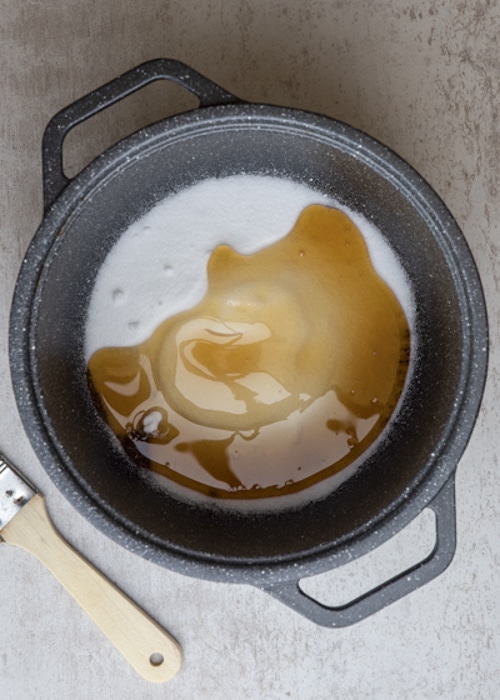
In a medium pot add the sugar and corn syrup and heat over low/medium heat stirring until the sugar dissolves, stop stirring and bring the mixture to a boil, insert a candy thermometer, do not stir, if necessary brush the sides of the pot with a pastry brush dipped in cold water to remove sugar crystals.
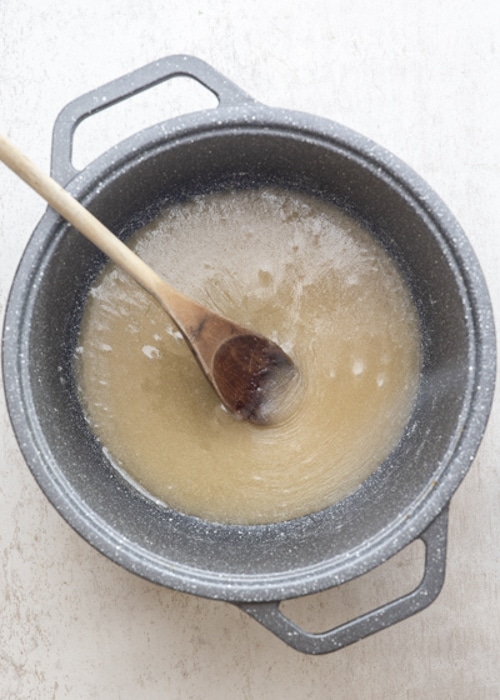
It may take a bit to arrive at the correct temperature, when you do, remove the pot from the heat and quickly stir in the baking soda (mixture will bubble, spit and increase in volume).
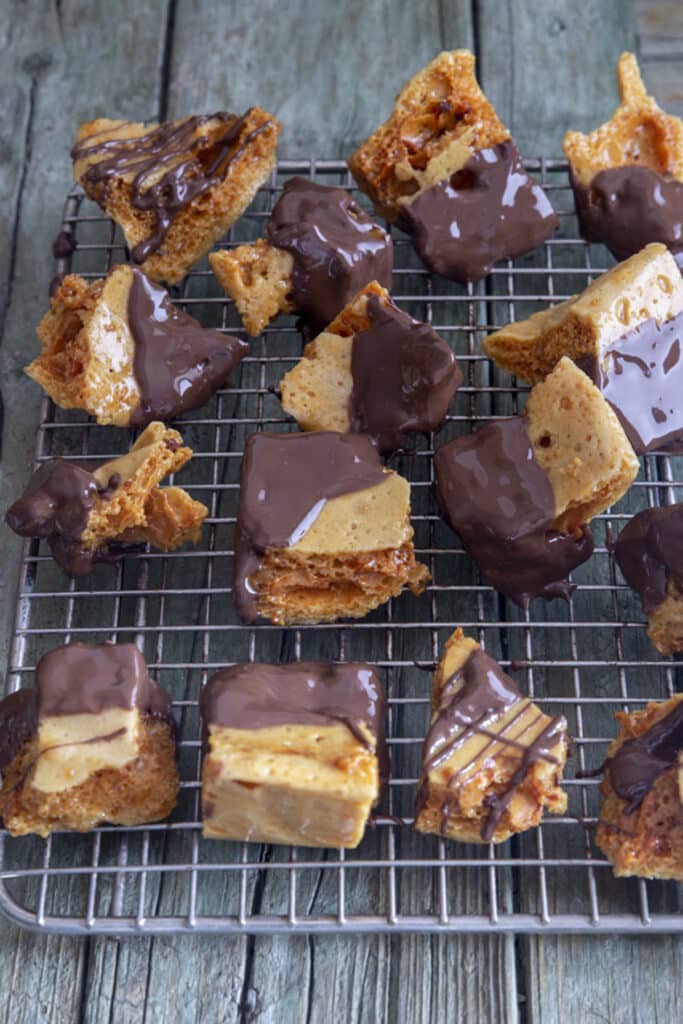
Pour the mixture quickly into the prepared pan, do not spread (bubbles could disappear). Let cool completely, then dip in chocolate if desired.
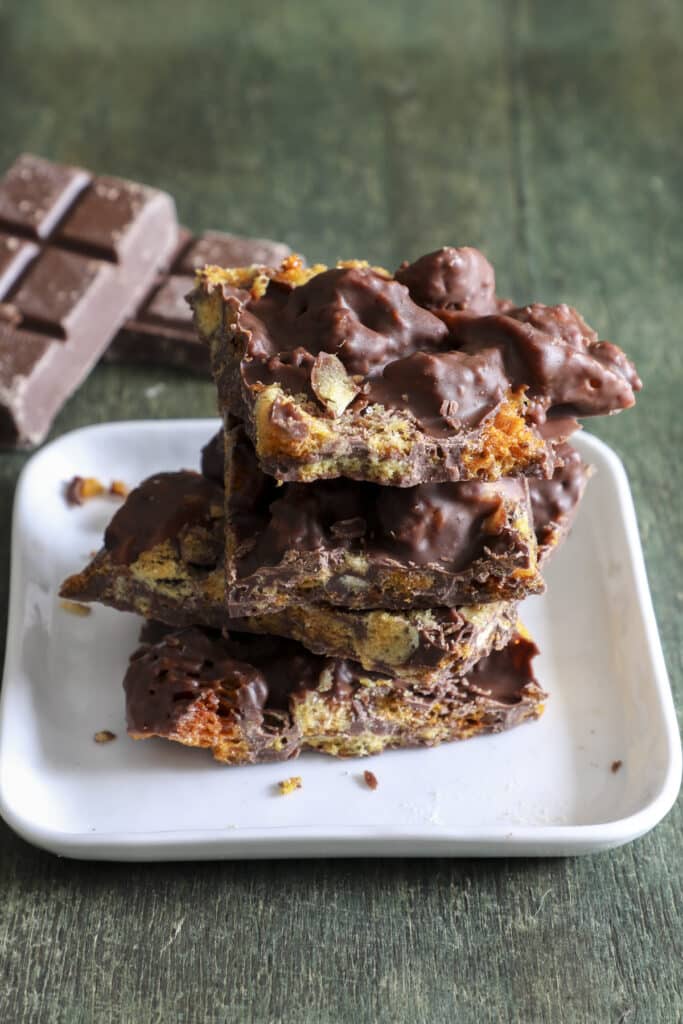
For honeycomb chocolate bark, chop the honeycomb into small pieces and stir into the melted chocolate. Pour the mixture onto a parchment paper lined baking sheet and let set until firm, then break into pieces and serve.
Variations
- No chocolate: This honeycomb candy recipe is delicious on its own so feel free to skip the chocolate coating if you would like.
- Type of chocolate: Make a homemade dark chocolate honeycomb, use semi-sweet chocolate, white chocolate, milk chocolate or a combination of a few all work with this honeycomb dipped in chocolate.
- Sea salt: A flaky sea salt adds the best sweet and salty taste! Sprinkle on immediately after the chocolate covered honeycomb is dipped before the chocolate sets.
- Honey: Honey in a honeycomb recipe just makes sense! Replace up to 3 Tablespoons of the corn syrup with honey for a honey flavor.
- Vegan honeycomb: Substitute golden syrup or dark corn syrup for the honey and be sure to use vegan chocolate for dipping.
Recipe FAQs
It is a crunchy homemade candy that tastes similar to toffee or caramel but is almost like peanut brittle in its aerated texture. The puff candy texture is caused by the chemical reaction of baking soda to the hot bubbling sugar which releases gas bubbles that get trapped in the candy.
A honeycomb candy by many names! You may hear it called sea foam, cinder toffee or sponge toffee depending on where you are located in the world. A few other names still are hokey pokey and angel food candy. No matter the name of this puffy candy, it is crunchy, sweet and perfect for candy lovers.
If your candied mixture was not cooked long enough to a hard crack stage, the end result will be chewy. A candy thermometer should read around 280°F before adding the baking soda.
How To Store Honeycomb Toffee?
While this sponge candy treat is best fresh as honeycomb softens quickly, you can store it in an airtight container at room temperature away from humidity for up to a week. Chocolate coated honeycomb will stay fresh a bit longer. You can also prolong its life by adding it to other treats like ice cream!
More Homemade Candy Recipes
- Easy Chocolate Clusters
- No-Bake Tiramisu Truffles
- Homemade Filled Chocolates
- Chocolate Torrone
- Italian Chocolate Kisses
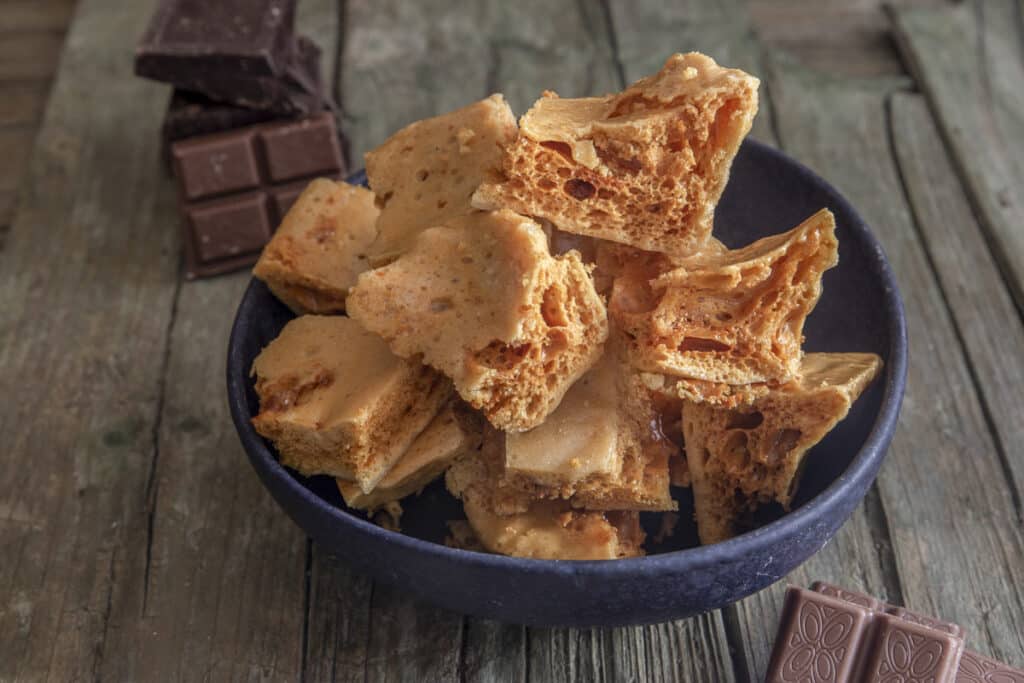
If you are like me and love a good homemade candy recipe then I hope you give this Honeycomb Candy or as I like to call it Sponge Toffee a try with or without chocolate! Let me know if you do. Enjoy!
Chocolate Covered Honeycomb Candy
Ingredients
- ¾ cup granulated sugar
- ¼ cup golden corn syrup
- 1 tablespoon baking soda
EXTRAS
- 8-10 ounces Good quality chocolate for dipping (dark or milk chocolate or a combination)
Instructions
- Lightly grease an 8 inch / 20cm cake pan (square or round then line it with parchment paper.
- In a medium pot add the sugar and corn syrup and heat over low/medium heat stirring until the sugar dissolves, stop stirring and bring the mixture to a boil, insert a candy thermometer, do not stir, if necessary brush the sides of the pot with a pastry brush dipped in cold water to remove sugar crystals (I didn't find this necessary).
- When the temperature reaches 280F (138C) (this will take a bit of time so do not increase the temperature), remove the pot from the heat and quickly stir in the baking soda (mixture will bubble, spit and increase in volume).
- Pour the mixture quickly into the prepared pan, do not spread (bubbles could disappear). Let cool approximately 2 hours, then dip in chocolate if desired. Enjoy!
TO MAKE HONEYCOMB (SPONGE TOFFEE) BARK
- Either by bain-marie or microwave melt the chocolate, chop the honey comb/ sponge toffee into small pieces and stir into the melted chocolate. Pour the mixture onto a parchment paper lined cookie sheet and let set in the fridge for 3-4 hours then break into pieces and serve.
Notes
Nutrition
Updated from October 16, 2015.
I made this and it worked perfectly texture wise! The only thing I left the mixture on stove a few seconds too long and it got a little too dark. I dipped it in chocolate and it is delicious. The only issue is that I find I can get a bit of a bitter taste from the baking soda, can I cut back the amount of baking soda just a little bit next time? Fabulous recipe! Thanks. 🤗
Hi Tammy thanks glad you liked it, try with 3 – 3 1/2 teaspoons and see what happens. Let me know if you do. I redid the recipe with new photos, but I would try it with less baking soda if I could but I don’t have anymore corn syrup left. 🙁 Happy New Year.
Was so easy to make and delicious. Just make sure to watch the temperature as a few degrees over will cause it to burn!
Thanks Pamela, glad you enjoyed it. Take care.
Holy cow, this sounds easier than the recipe I tried a couple of years ago! It was no sugar, just vanilla flavoured white corn syrup with the baking soda plus vinegar and some gelatin. I almost got it right but I had used –omg — brown or dark corn syrup which is what I happened to have. I tried it the recommended way and blech, after 3 tries over time I gave up. No burning, taste, colour and consistency just all off. I really don’t know what went wrong. Store bought is ok but lately I noticed they are cheaping out on the quality of the chocolate compared to earlier. I think I’ll try your recipe, mostly because you sound so sensibly down to earth ie no hey I tried this in a cafe in Bulgaria and to make sure it turns out put a cat in the window or whatever.
Heidi, haha thanks, if you try it let me know how it turns out.
Recipe worked except I cooked slightly too long. I’m wondering though, every other recipe I’ve seen adds water to the sugar and syrup. What difference would the water make?
Will be making another batch of this soon. Thanks for the recipe!
Hi Lee, adding water is not really needed since there is moisture in the corn syrup, apparently less water (not adding any extra) makes for a better textured candy. Hope that helps.
My stove was at medium heat boiling not even for 10 mins and tasted like burn
Stove top heat was at 4-5 should it be lower?
Hi Syl, try it lower, but you also have to check your thermometer and no go over 284F, it might take less then 10 minutes for you. Hope that helps.
Mine was still chewy but tastes amazing
Hi Tammy, that’s interesting, when I get back home I will remake it again. thanks
Can this recipe be doubled, or tripled (of course taking into account a larger pot and cake pan)?
Hi Marily yes it can be. Hope you enjoy it.
What type of corn syrup should we use- light or dark? Thanks! Can’t wait to make this for Christmas!
Hi Jessica, I use light corn syrup (it’s called golden, so I suppose that is light). Have a wonderful Christmas.
Golden Syrup is much different than corn syrup. Golden syrup is made from sugar, and has a delightfully rich round taste. Corn syrup is made from corn, and just tastes…sweet? Not a good flavor like golden syrup, anyway. Golden is also much thicker than corn syrup.
When I was in Melbourne Aus. I discovered golden syrup and loved it. So far back in the states I haven’t seen it in stores, but you can find it on Amazon or find recipes to make it online.
I’m not saying the recipe won’t work with corn syrup, but I suspect the results may be different.
Thanks for posting the recipe! As soon as my order of golden syrup arrives I will be giving it a try, this candy was one of my favorites when I was living in Oz.
Hi Frannie, interesting, I have never made it with golden syrup, I have always used corn syrup. Let me know how it turns out with golden syrup. I am going to redo the recipe with new photos so I would love to know how you liked it. Take care and thanks for letting me know. Take care!
One of my favourite treats. Love it.