Homemade Angel Food Cake
Homemade Angel Food Cake, a light delicious cake recipe. Amazing on its own or filled with some creamy whipped cream and fresh berries. The perfect dessert to make to wow your family and friends. Cake never tasted so good!
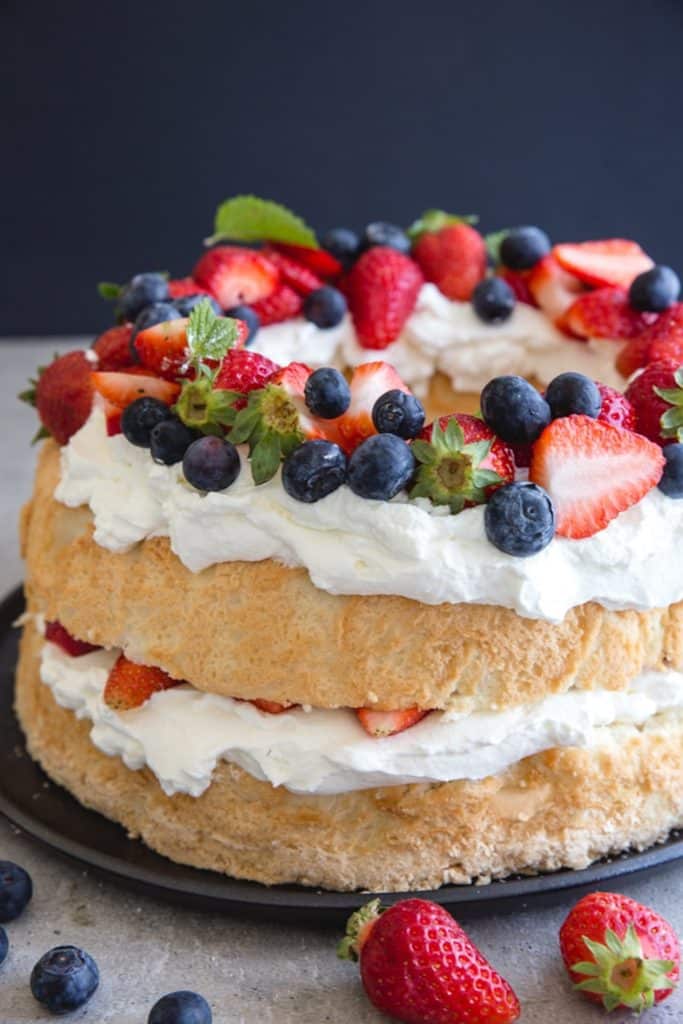
This is a cake that brings back some wonderful Canadian memories, my mother loved this Angel Food Cake recipe. It is so light perfect for this time of year when there are so many fresh berries around just begging to be stacked on a whipped cream layer cake.
I decided it would also be the perfect dessert to share with my Italian friends, which I discovered was something they had never tried before, a cake made with egg whites. The perfect cake to be smothered with whipped cream and berries or any fruit of choice or naked if you prefer.
Recipe Ingredients
- Flour – all purpose or cake/pastry flour I have used both and they both work, although cake flour does give a softer cake result.
- Salt
- Sugar – I like to use fine sugar but you can use regular granulated sugar.
- Egg whites – room temperature
- Cream of tartar – or lemon juice
- Vanilla – vanilla extract
How to make homemade Cake/Pastry flour
For every cup of all purpose flour, remove two tablespoons and replace with two tablespoons of corn starch. Be sure to sift the flour and cornstarch together a couple of times, this way it is sure to be properly combined and lump free.
Cake flour in cakes will give you a very tender texture and fine crumb, it will also help the cake to rise.
What is the difference between angel food cake and sponge cake?
The main difference between them is that angel food cake uses only egg whites and sponge cake uses both whites and yolks. Neither contain a leavening agent such as baking powder or baking soda or a fat such as butter or oil.
How to make an Angel Food Cake
Whisk together the flour, salt and part of the sugar.
In a large bowl with hand beaters or the bowl of a stand mixer with the whisk attachment beat the egg whites, lemon juice and vanilla on medium-high speed until soft peaks form.
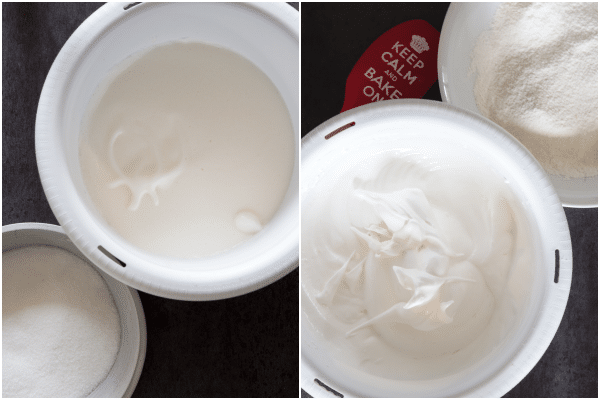
Gradually add some of the sugar (a little at a time), continue beating until stiff peaks form (don’t over beat). With a rubber spatula fold in the flour mixture (a little at a time), gently fold until combined.
Spoon into an ungreased 9 inch tube pan. Gently cut through the batter with a metal knife to eliminate air bubbles.
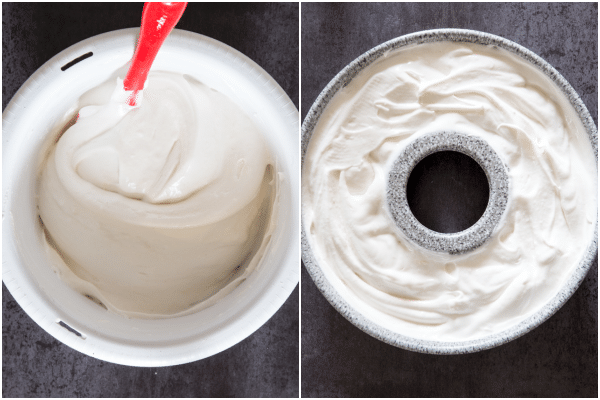
Bake until toothpick comes out clean. Cool upside down in the pan.
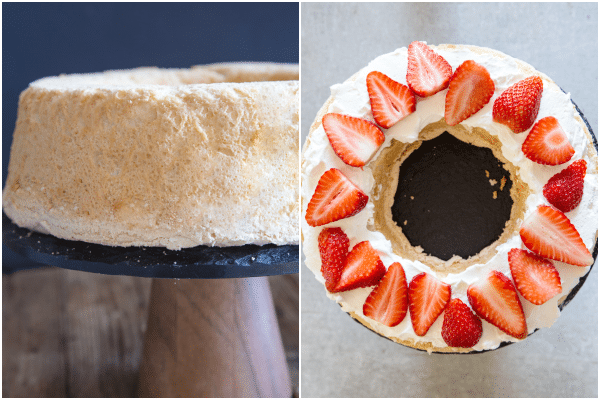
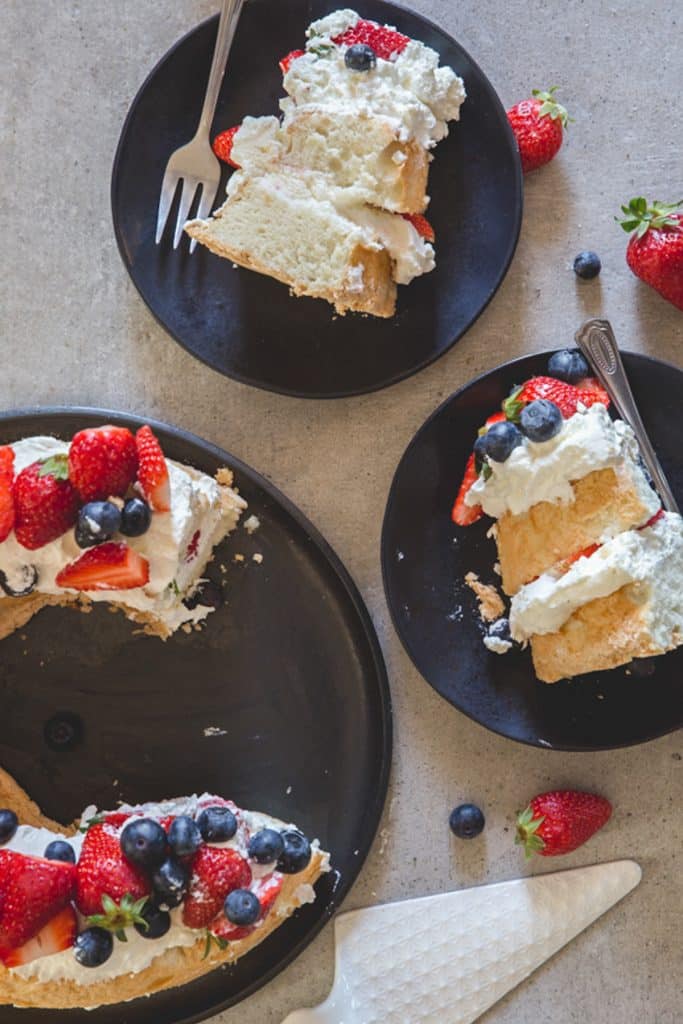
Remove the cake from the pan (you will need to carefully run your knife around the edges to help release it), slice the cake in two layers, spread half the topping on one layer, add some berries, top with second layer and spread with remaining topping and berries or desired fruit. Or you can use your filling of choice.
A substitute for cream of tartar
Some Angel Food Cakes use cream of tartar, but I beat the egg whites with lemon juice, because it makes the perfect replacement for cream of tartar which I have a hard time finding when I am in Italy.
Tips for making the perfect Angel Food Cake
- Your eggs should be room temperature, so remove them from the fridge at least one hour before preparing.
- Make sure the bowl you use for beating the egg whites is completely clean and dry.
- The eggs must be beaten until stiff, hold the bowl upside down and they should not slide out.
- Be sure to gently fold in the flour, do not beat in the flour or it will surely over beat the batter, which will make a tough rubbery cake.
- Use a tube pan and do not grease it, the batter needs to cling to the sides of the pan in order to rise.
Why do you cool an Angel Food Cake upside down?
Because Angel Food Cakes are leavened with air (egg whites) if you don’t cool them upside down they will collapse. As soon as the cake comes out of the oven immediately place on a cooling rack.
Other ways to fill an Angel Food Cake
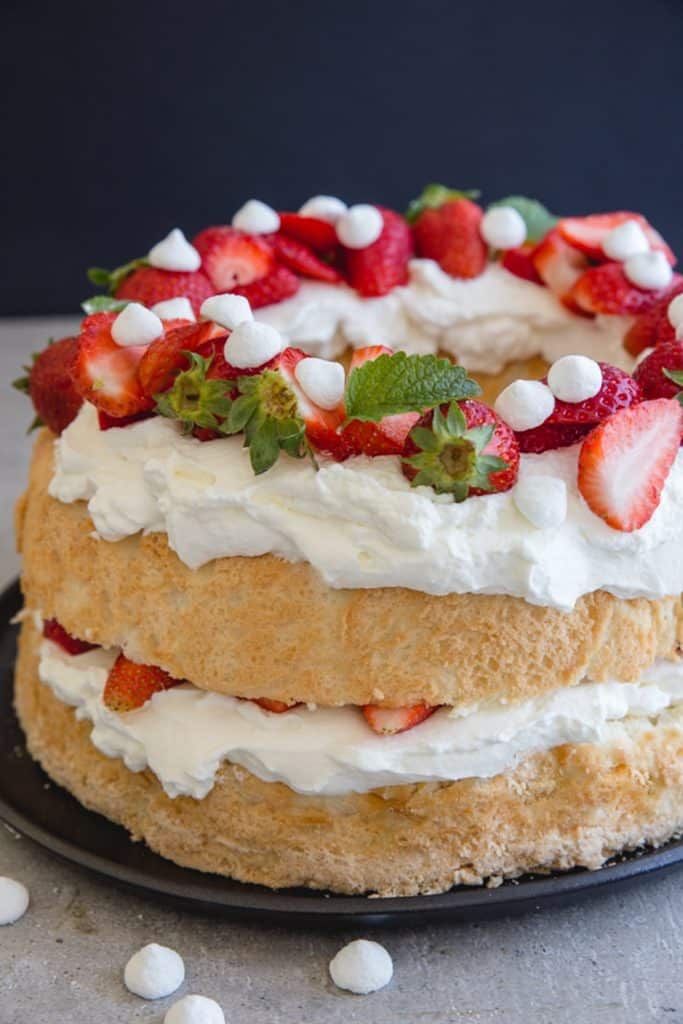
I filled this cake with a whipped cream and mascarpone filling and of course some fresh fruit. You could also fill it with a lemon curd filling, a simple Chantilly Cream filling, which is whipping cream whipped with a little sugar and a teaspoon of vanilla extract.
Or you could cut slices and top with fresh fruit and whipped cream. Or of course your favourite filling.
What to make with the leftover egg yolks
- Italian Pastry Cream
- Pasticciotti Italian Cream Filled Tarts
- Fresh Fruit Tart with Italian Cream Filling
How to Store an Angel Food Cake:
Be sure to store the cake in an air tight container or wrap tightly and store in an airtight bag. It will keep up to two days at room temperature or one week in the fridge.
How to Freeze an Angel Food Cake:
To freeze the cake, wrap it tightly with foil or plastic wrap, and place it in a freezer bag or place the cooled cake in an airtight container. Properly stored, it keep for up to four to six months.
I love this cake and love to make it to celebrate any occasion. You can add red and white or red, white and blue berries to celebrate Canada day or even the 4th of July! So what ever way you decide to make this Angel Food Cake, I hope you enjoy it!
More Delicious Cake Recipes

Homemade Angel Food Cake
Ingredients
FOR THE CAKE
- 1 cup flour (all purpose or cake/pastry flour)
- ¼ teaspoon salt
- 1¼ cups sugar divided
- 8 egg whites (room temperature)
- ½ teaspoon lemon juice or 1 teaspoon of cream of tartar
- 1 teaspoon vanilla
TOPPING
- 1¼ cups cream (whipping or whole)
- ½ cup mascarpone
- 1 tablespoon powdered/icing sugar
- 2-3 cups berries of choice (more if desired)
Instructions
- Pre-heat oven to 350F (180C).
FOR THE CAKE
- In a medium bowl sift together the flour, salt and ¼ cup sugar 3 times.
- In a large bowl with hand beaters or the bowl of a stand mixer with the whisk attachment beat the egg whites, lemon juice and vanilla on medium speed until soft peaks form.
- Gradually add one cup of sugar (a little at a time), continue beating until stiff peaks form (don't over beat).
- With a spatula fold in the flour mixture (a quarter cup at a time), gently fold until combined (do not over fold). Spoon into an ungreased 9 inch tube pan (angel food cake pan). Gently cut through the batter with a metal knife to eliminate any air bubbles.
- Bake for approximately 40-45 minutes, or until toothpick comes out clean. Cool the cake upside down in the pan.
- Remove from the pan (you will need to carefully run your knife around the edges to help release the cake) slice the cake in two layers, spread half the topping on one layer, add some berries, top with second layer and spread with remaining topping and berries or desired fruit. Enjoy!
FOR THE TOPPING
- In a medium bowl beat together the cream, mascarpone and icing sugar (be sure to sift the icing sugar into the bowl to eliminate any lumps), beat until thick.
Video
Notes
Nutrition
Updated from August 28, 2015.
Thanks Derek, hope you enjoy it.
Thanks Hillary, I love blackberries.
Thanks very much.
Hi Mandee, thanks it is pretty easy actually.
Hi Kelly, thank you very much.
Hi Marye, thank you. I agree.
Hi Molly thanks, enjoy.
Thanks, it did go quickly.
Hi Byron, thanks, black berries are delicious.
This cake is beautiful! I love blackberries. Also, great tip about substituting lemon juice for cream of tartar – I didn’t know that!
Hi Jessica, thanks, yes I really have a hard time finding cream of tartar here so I discovered lemon juice works.
Your cake looks sooooo good, moist and fluffy! Never had Angel Food cake before but I have to make one, soon. Thanks for sharing it!
Hi Oana, thanks hope you enjoy it.
My oldest son always loved an Angel Food Cake with whipped cream frosting. I love the lightness of it. Also it makes a great base for a Strawberry shortcake. This is a perfect cake for any occasion. Great Pictures!! My daughter is letting me borrow her Canon for a few days but her lens are beh! She bought the camera and lens from an amateur photographer friend. I had dreams of practicing my “M” mode. Oh well — Have a great weekend!!
This looks like pure heaven (angel pun not intended). I love the simplicity of this dessert – I’ll take a cake like this over chocolate any day!
Hi Errely, haha thanks.
Looks yummy!!! This is a great cake for any occasion, certainly will make it!!
Hi Rosemary! This looks fab! I so know what you mean with the blackberry bush – we’ve got one in our backyard that I’ve been fighting with trying to get nice juicy blackberries off of. It’s so worth it in the end when we get to make things like though, isn’t it?
Hi Sarah, Thanks so much, I know they are killers those bushes, but as you say so worth it. Have a great Sunday.